Send email
Last updated:
The Send email action sends data entered into the form as an email attachment to any number of recipients.
You can individually select which of the entered data is sent.
General
Property |
Description |
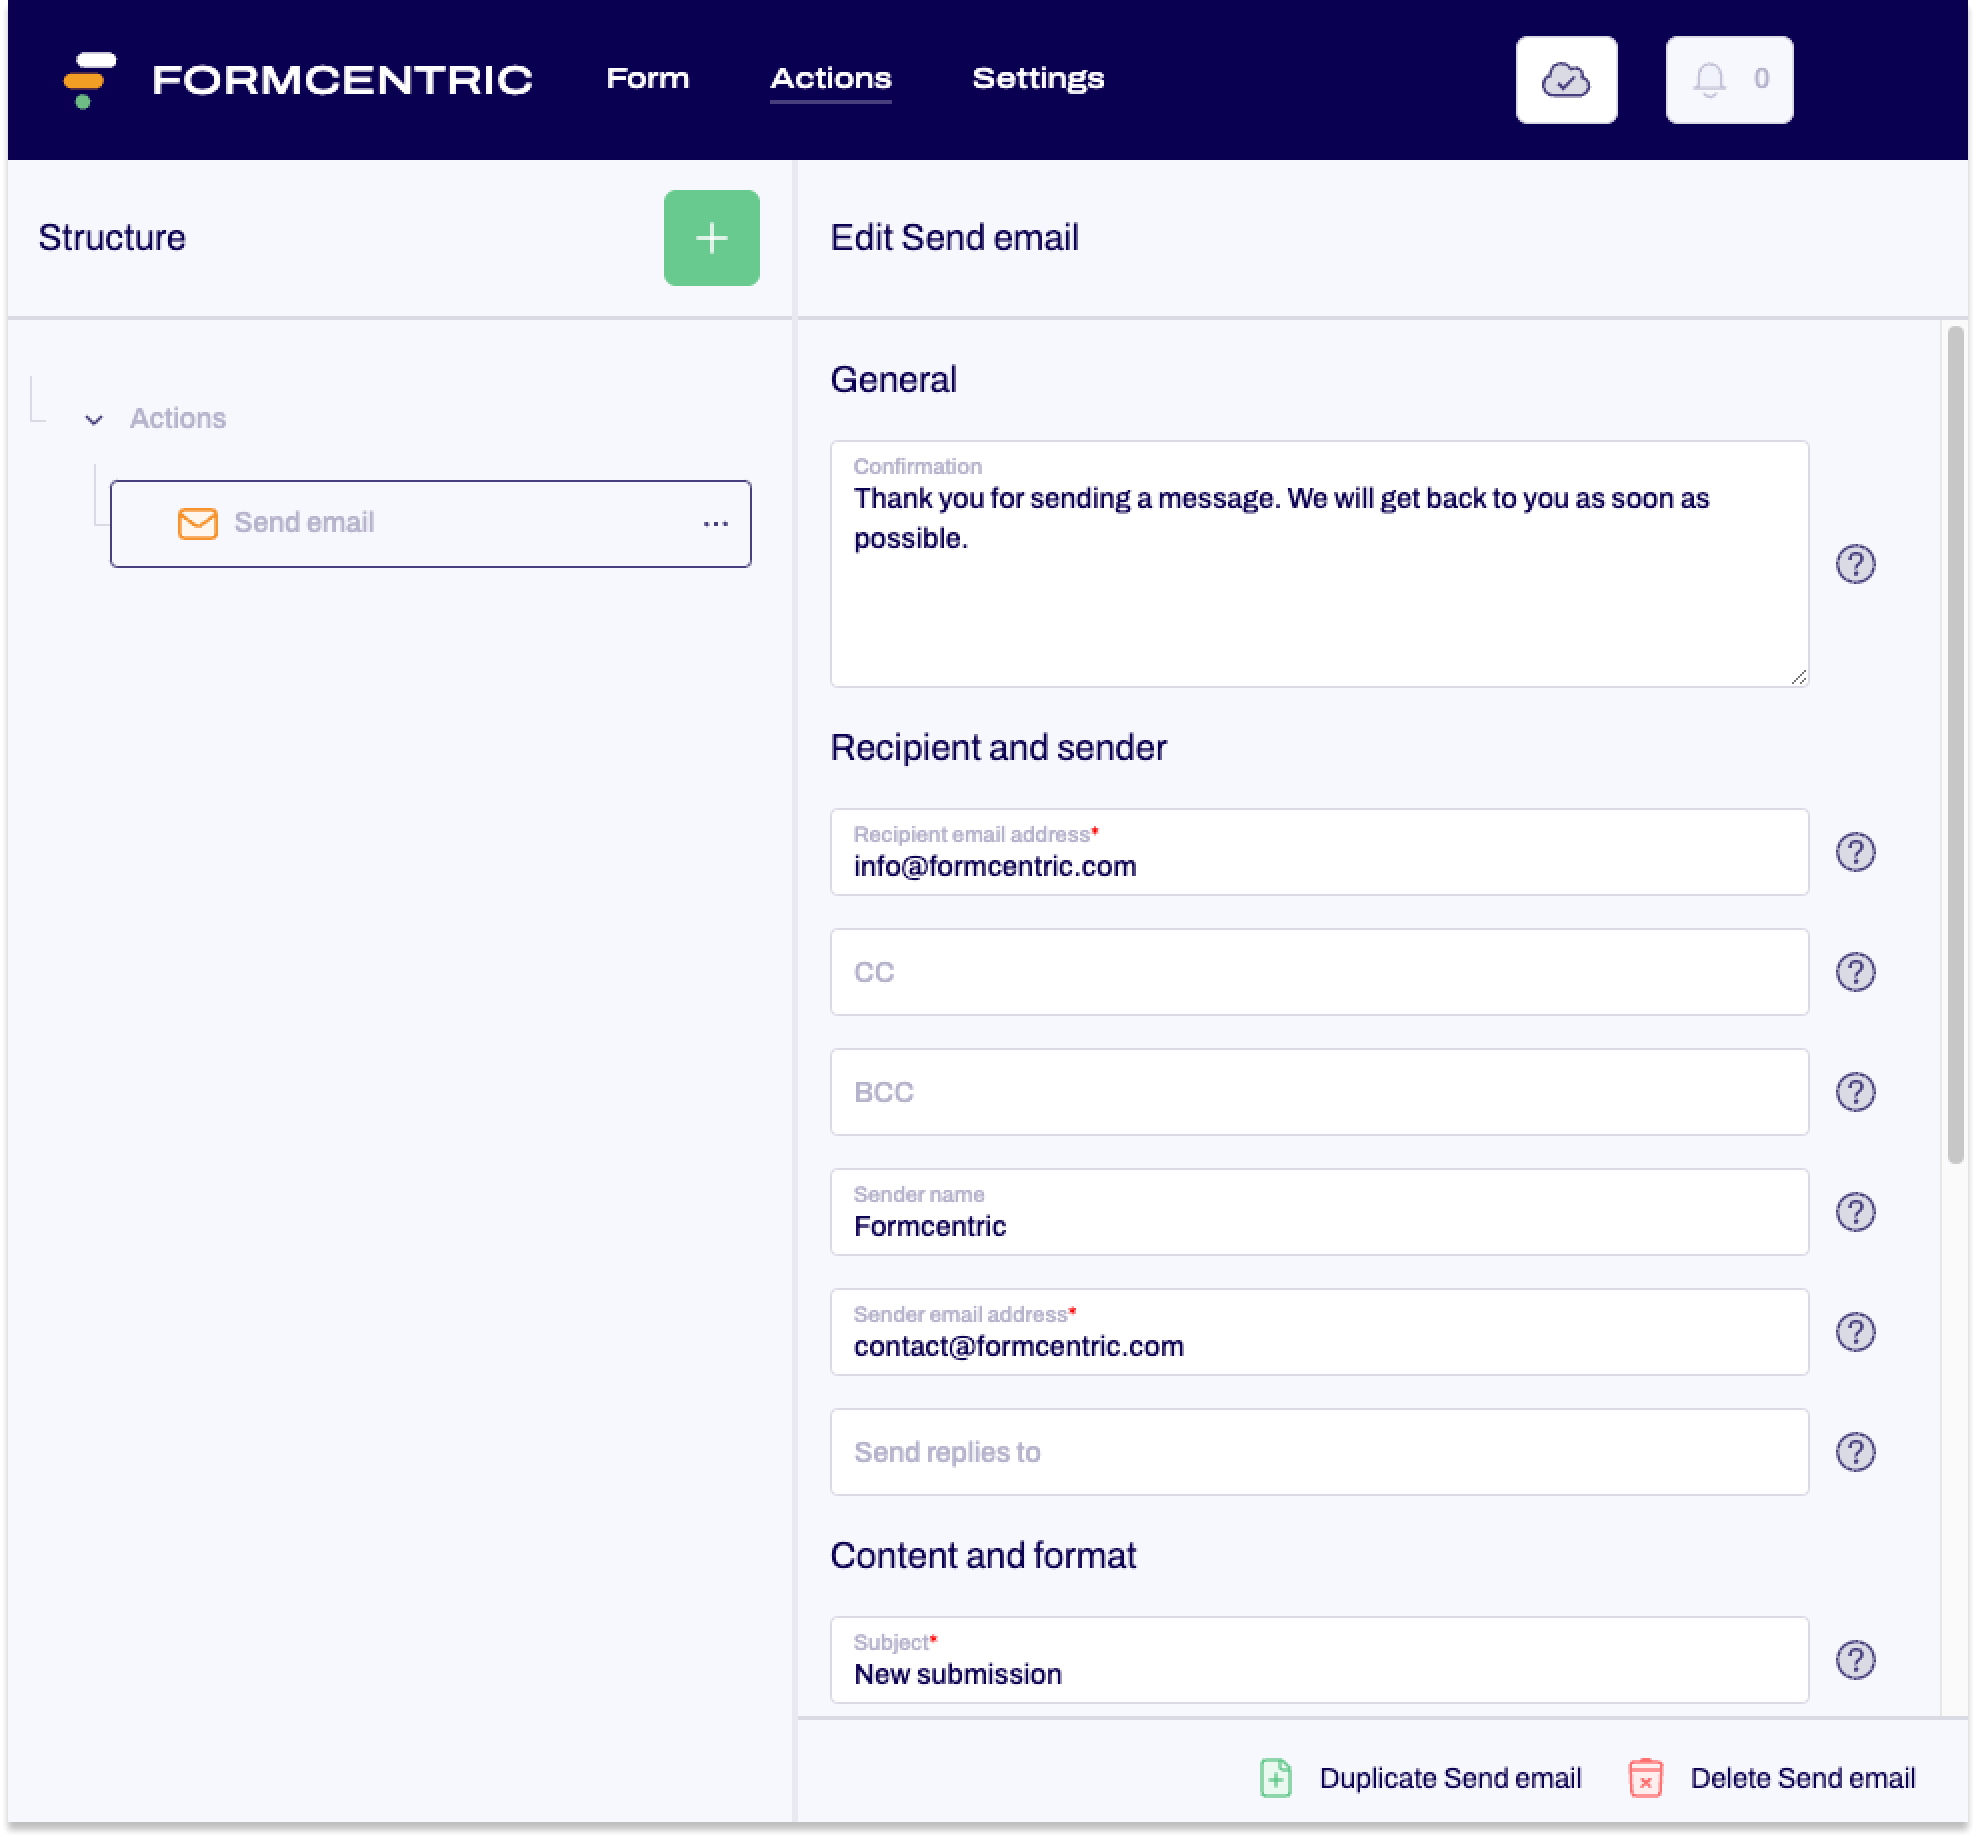
| Confirmation | Enter the confirmation message that is shown to the user on the web page after the form has been submitted. |
Recipient and sender
Property |
Description |
| Recipient email address | Select the form field into which users enter their email address. The form field must be a required field. The confirmation email will be sent to the email address entered. |
| Cc | Enter email addresses here to which copies of the email should be sent. Use a comma to separate multiple email addresses. |
| Bcc | Enter email addresses here to which blind copies of the email should be sent. In this case, each recipient sees only their own email address. Use a comma to separate multiple email addresses. |
| Sender name | Enter the name to be displayed as the sender. |
| Sender email address | Enter the email address to be used as the sender. |
| Send replies to | If answers to the email from this action should be sent to an address that is different to the sender email address, then you can enter this email address here. Use commas to separate multiple email addresses. |
Content and format
Property |
Description |
| Subject | Enter the subject here that is displayed to the user when they receive the mail. |
| Message |
Enter a piece of text to be added to the body of the email, in addition to the form data. |
| Select form elements |
Click Select form elements and choose the form elements that you want to have displayed in the mail. In the mail, the form elements will be displayed in the order in which they are listed here. If you want to use a different order, you can use drag-and-drop to rearrange your form elements. Use Select all to select all of the elements in one go. Use Unselect all to cancel this selection. Click the green button at the bottom right to confirm your selection. Confirm your selection to close the dialog field. You can now see the form elements that you have selected in the editing area. You can click the recycle bin on the right to delete individual form elements from your selection. |
| Hide empty fields |
Select Hide empty fields to ensure that only completed form fields are included in the email. |
| Email format | This field lets you specify whether the email should be sent in HTML format or as a plain text message.
|
Conditions
Property |
Description |
| Conditions | Use this field to specify the user input for which the action should be executed/not be executed. If you define multiple triggers, then you need to specify whether only one or all triggers must be fulfilled in order for the action to be triggered/not be triggered. |


