Editing a form
Last updated:
After you have created a new form, as described in the article Creating form, the form opens automatically in the Editor. You can then edit the form here.
In this article, we use an example to show you how to create a simple contact form.
Adding form elements
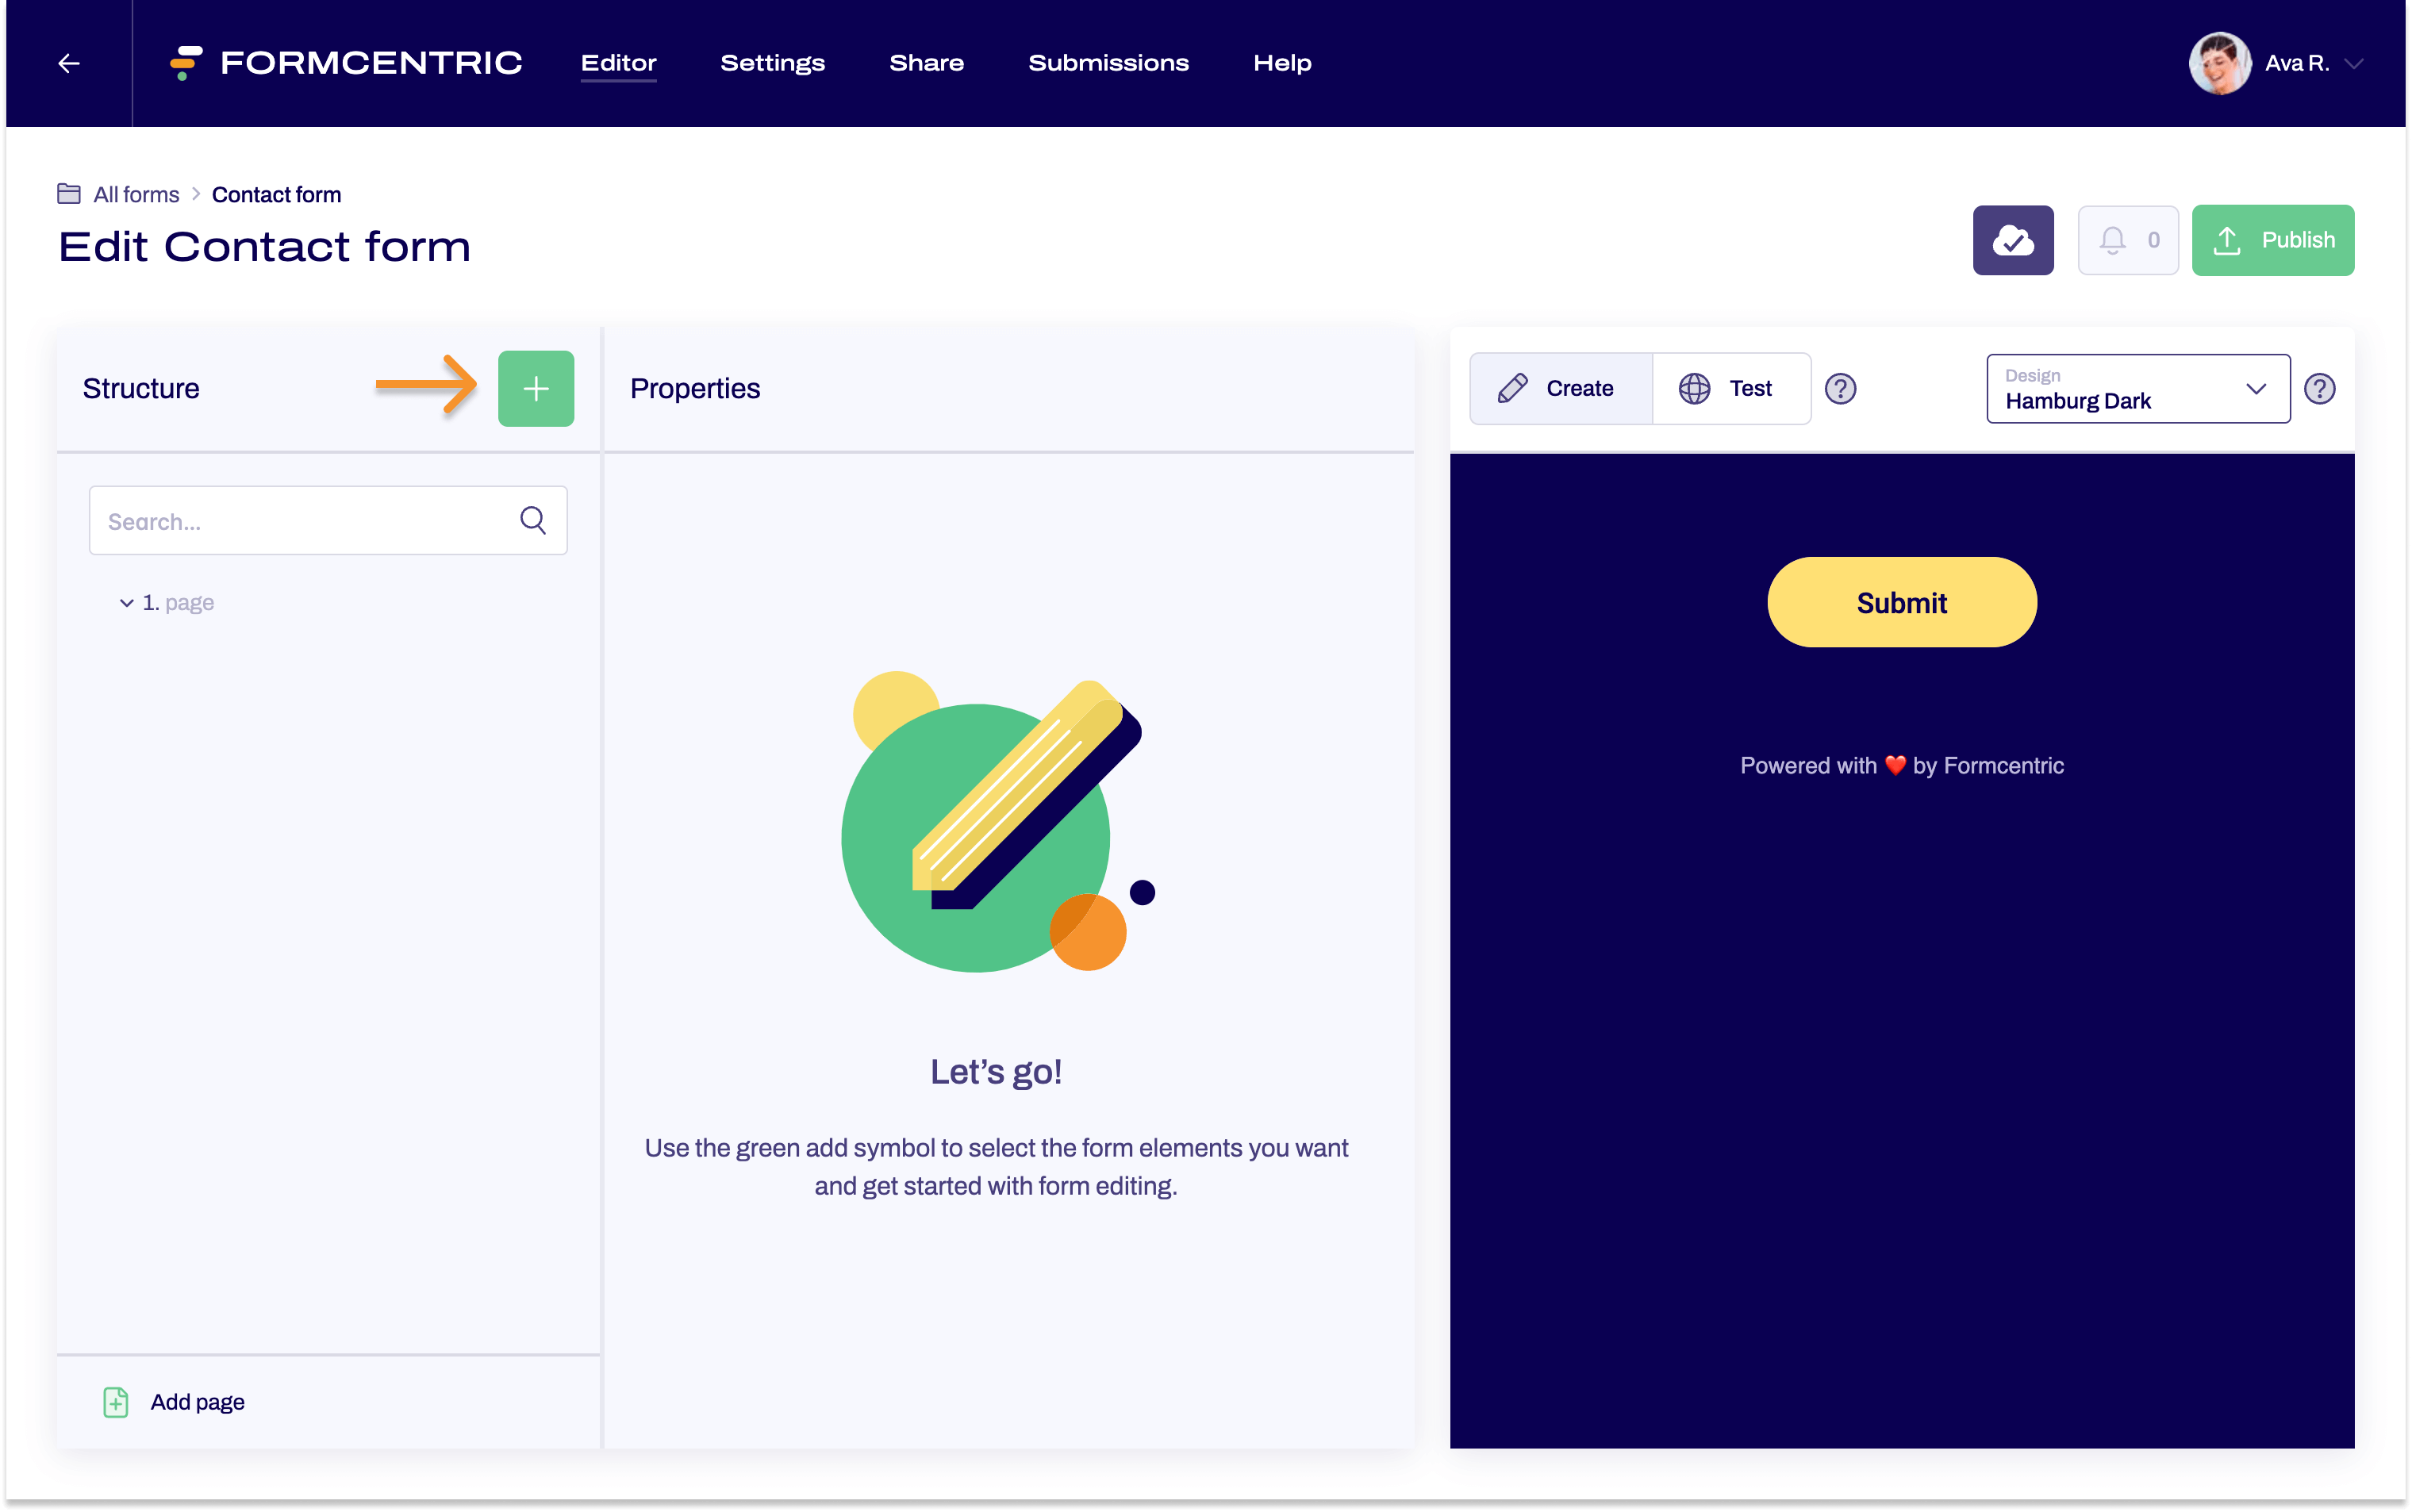
- In the Structure area, click the green plus sign.
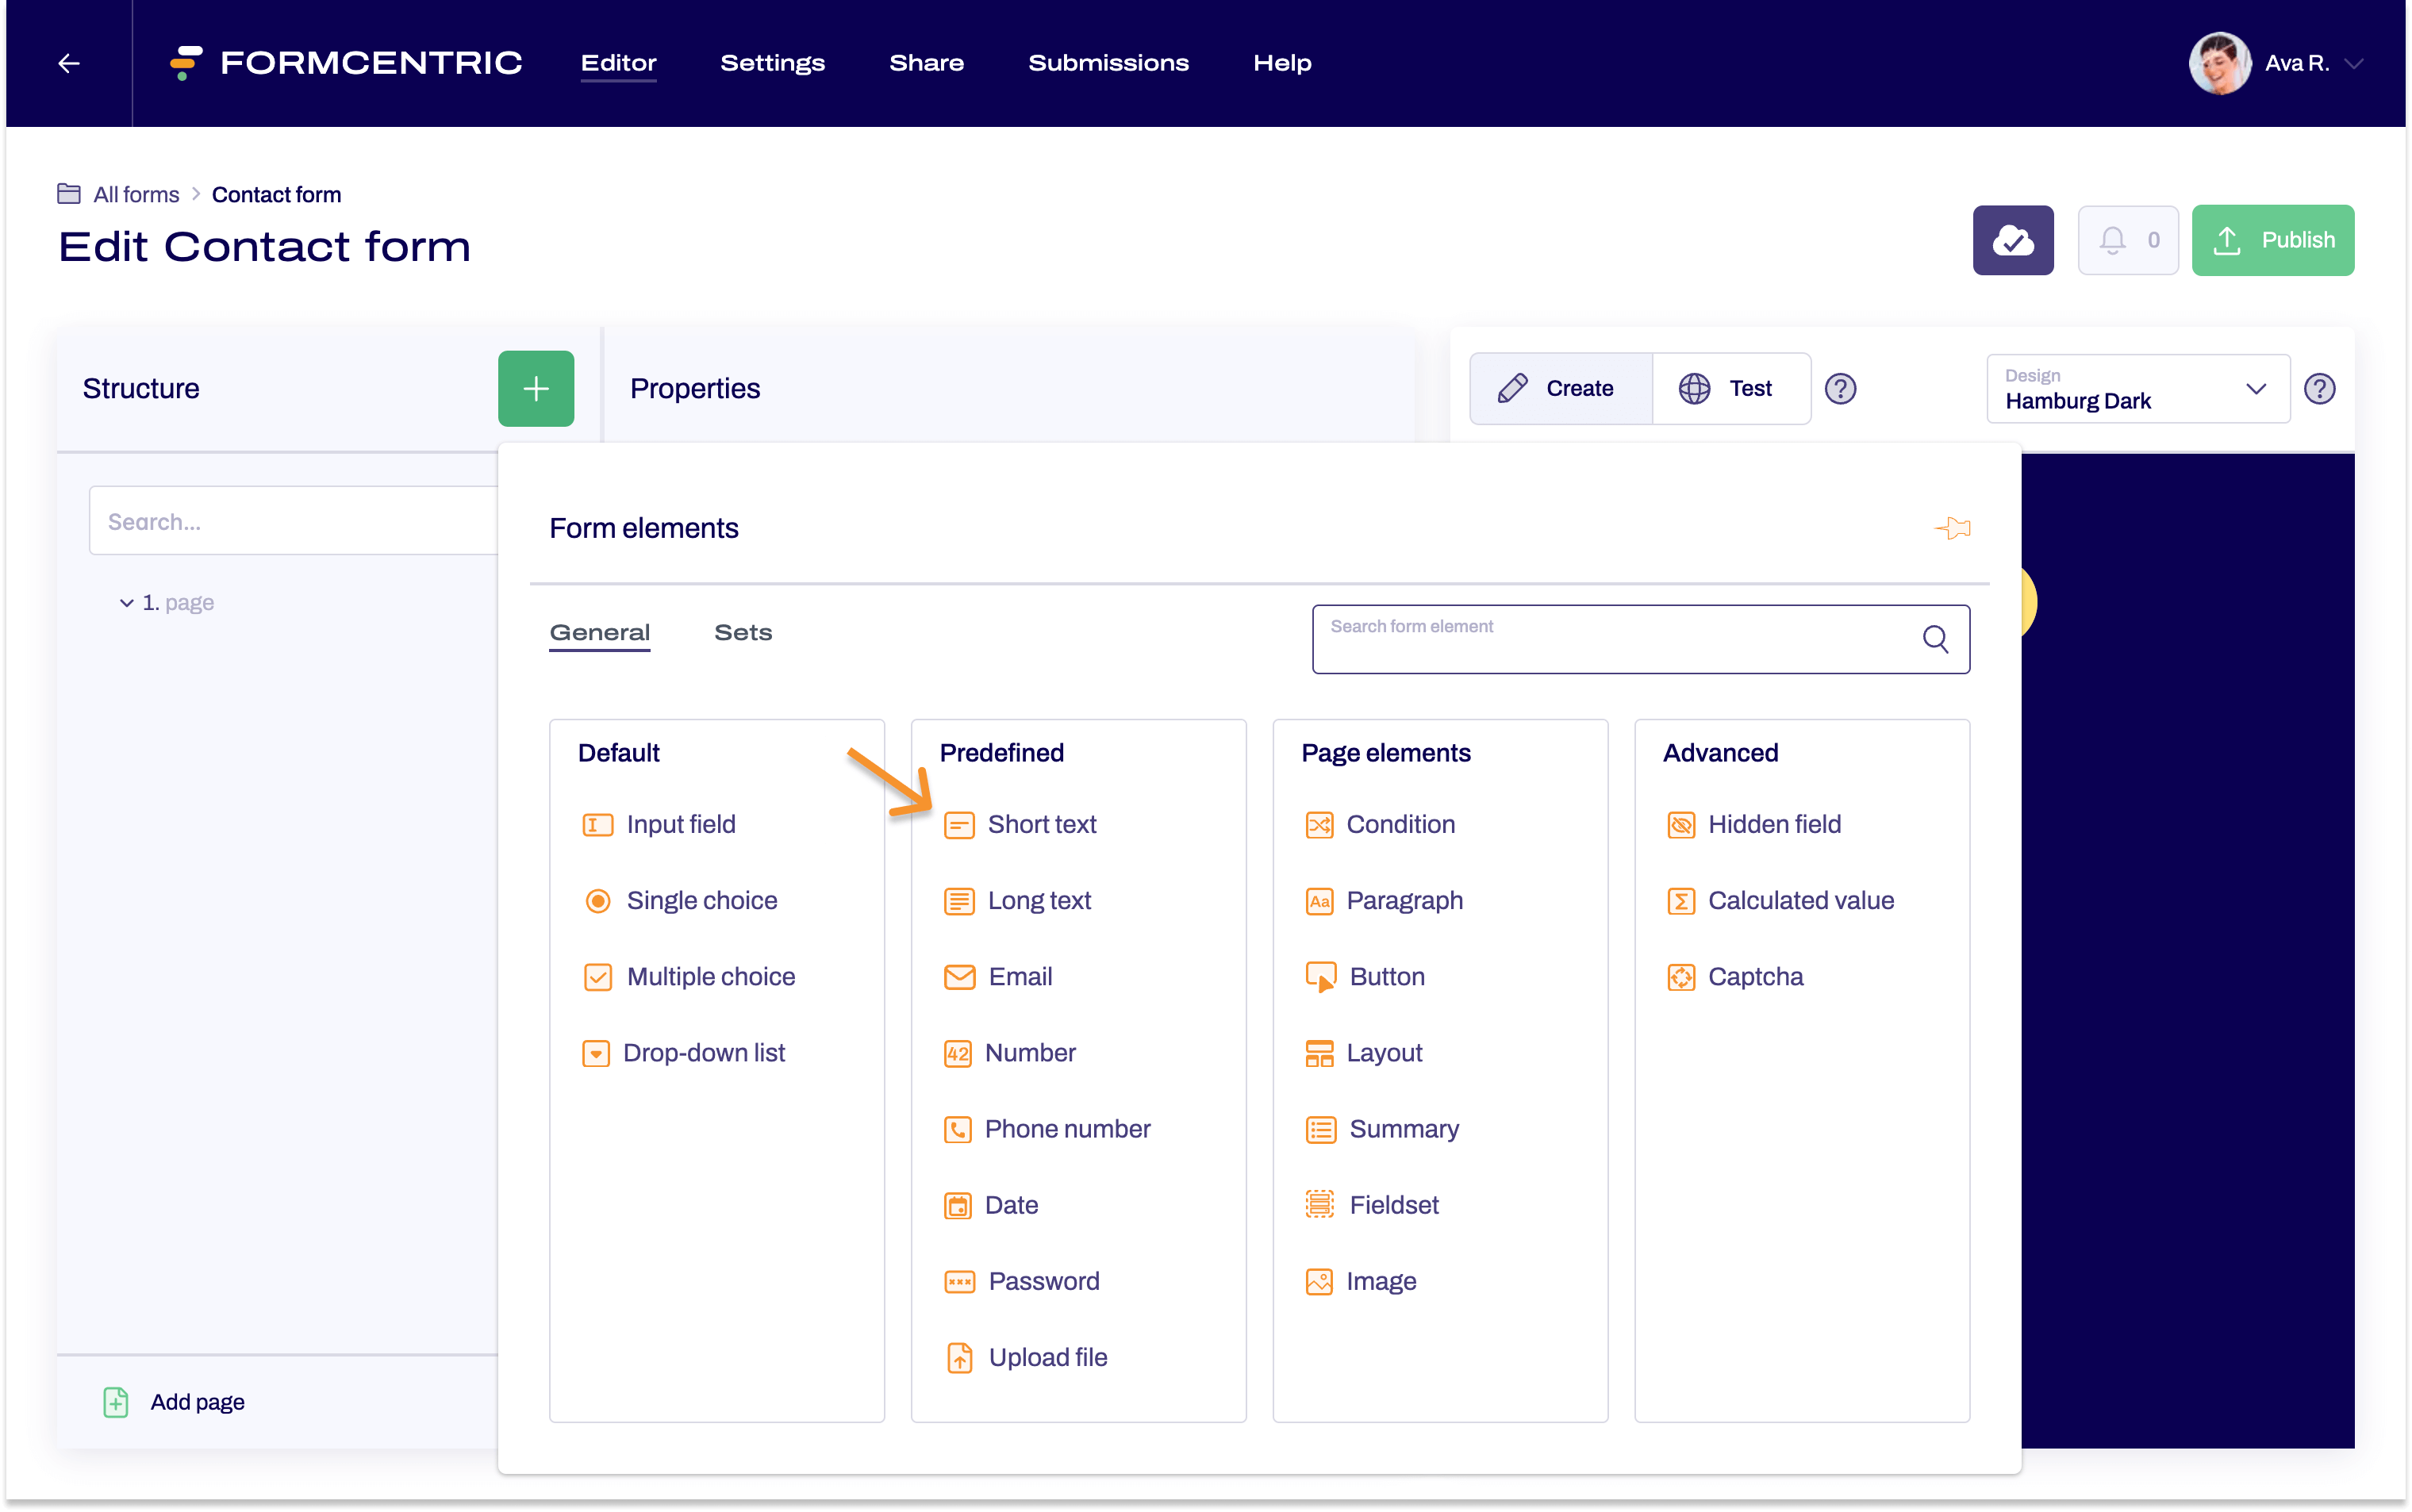
- The first field in this contact form will be the user’s first name.
To add this field, select the form element Short text.
- In the editing area, go to Label and enter First name.
You can make other settings here, such as adding information to show next to the field. For more details, see the article Giving tips on how to fill out the form.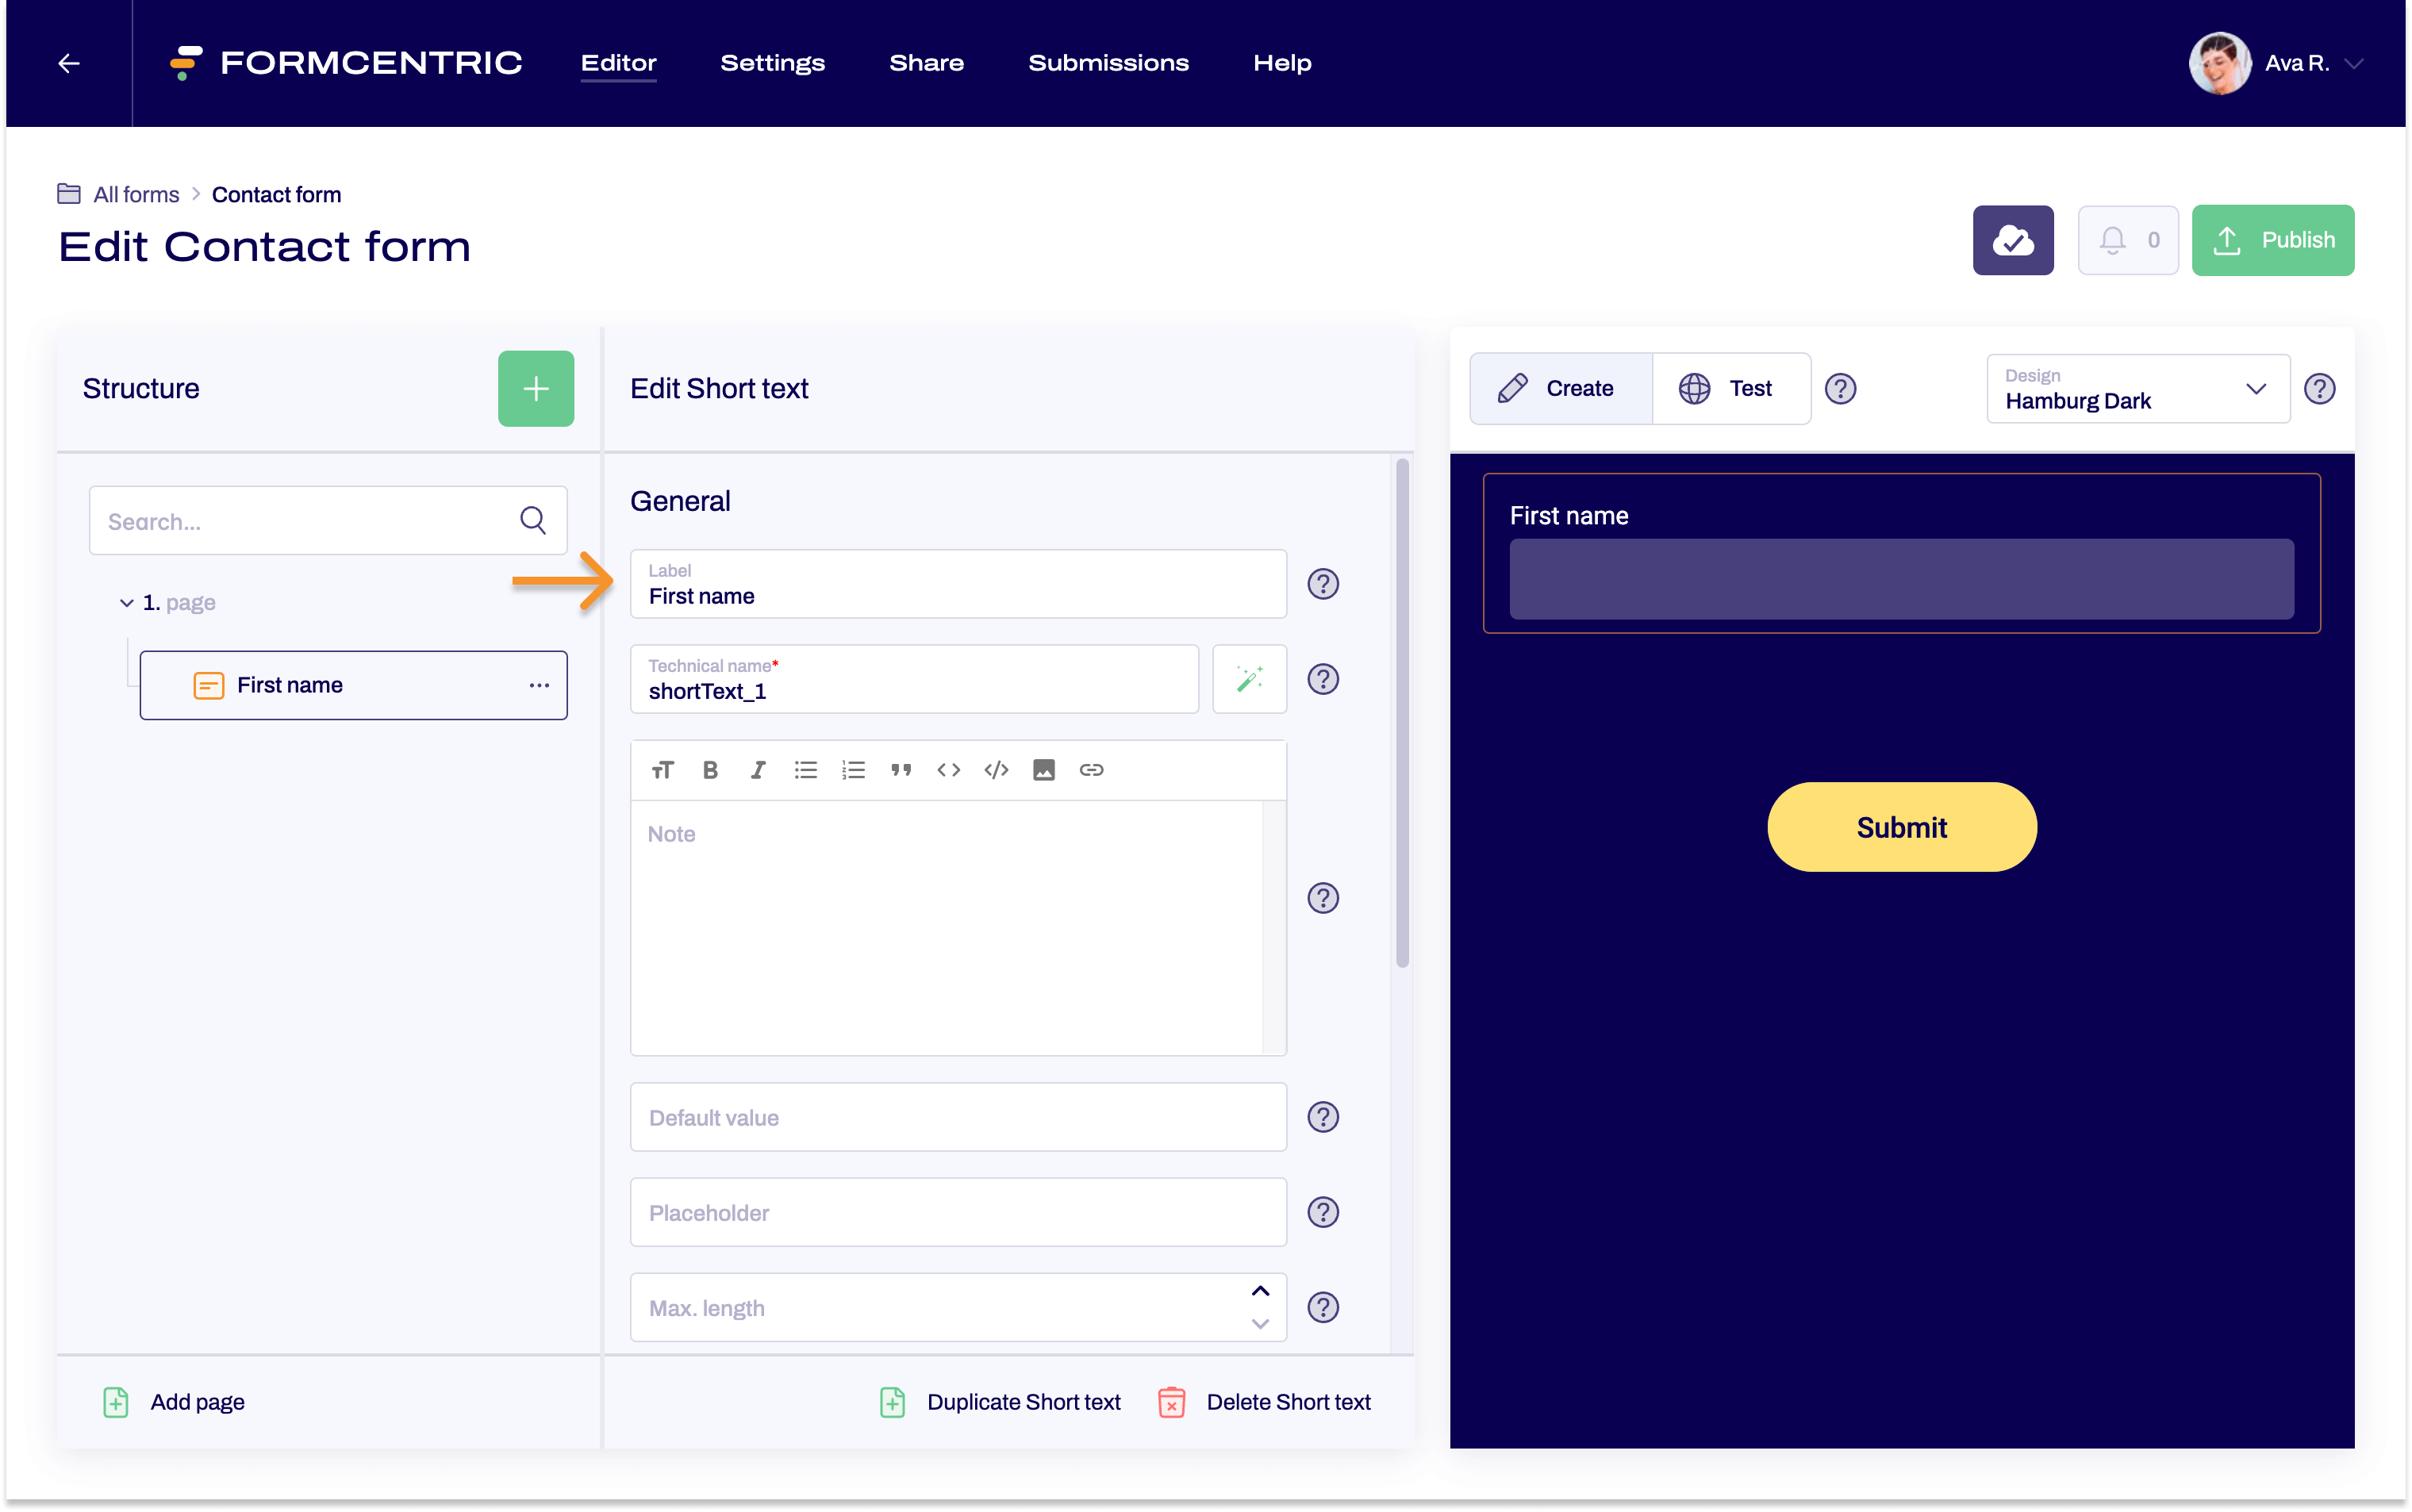
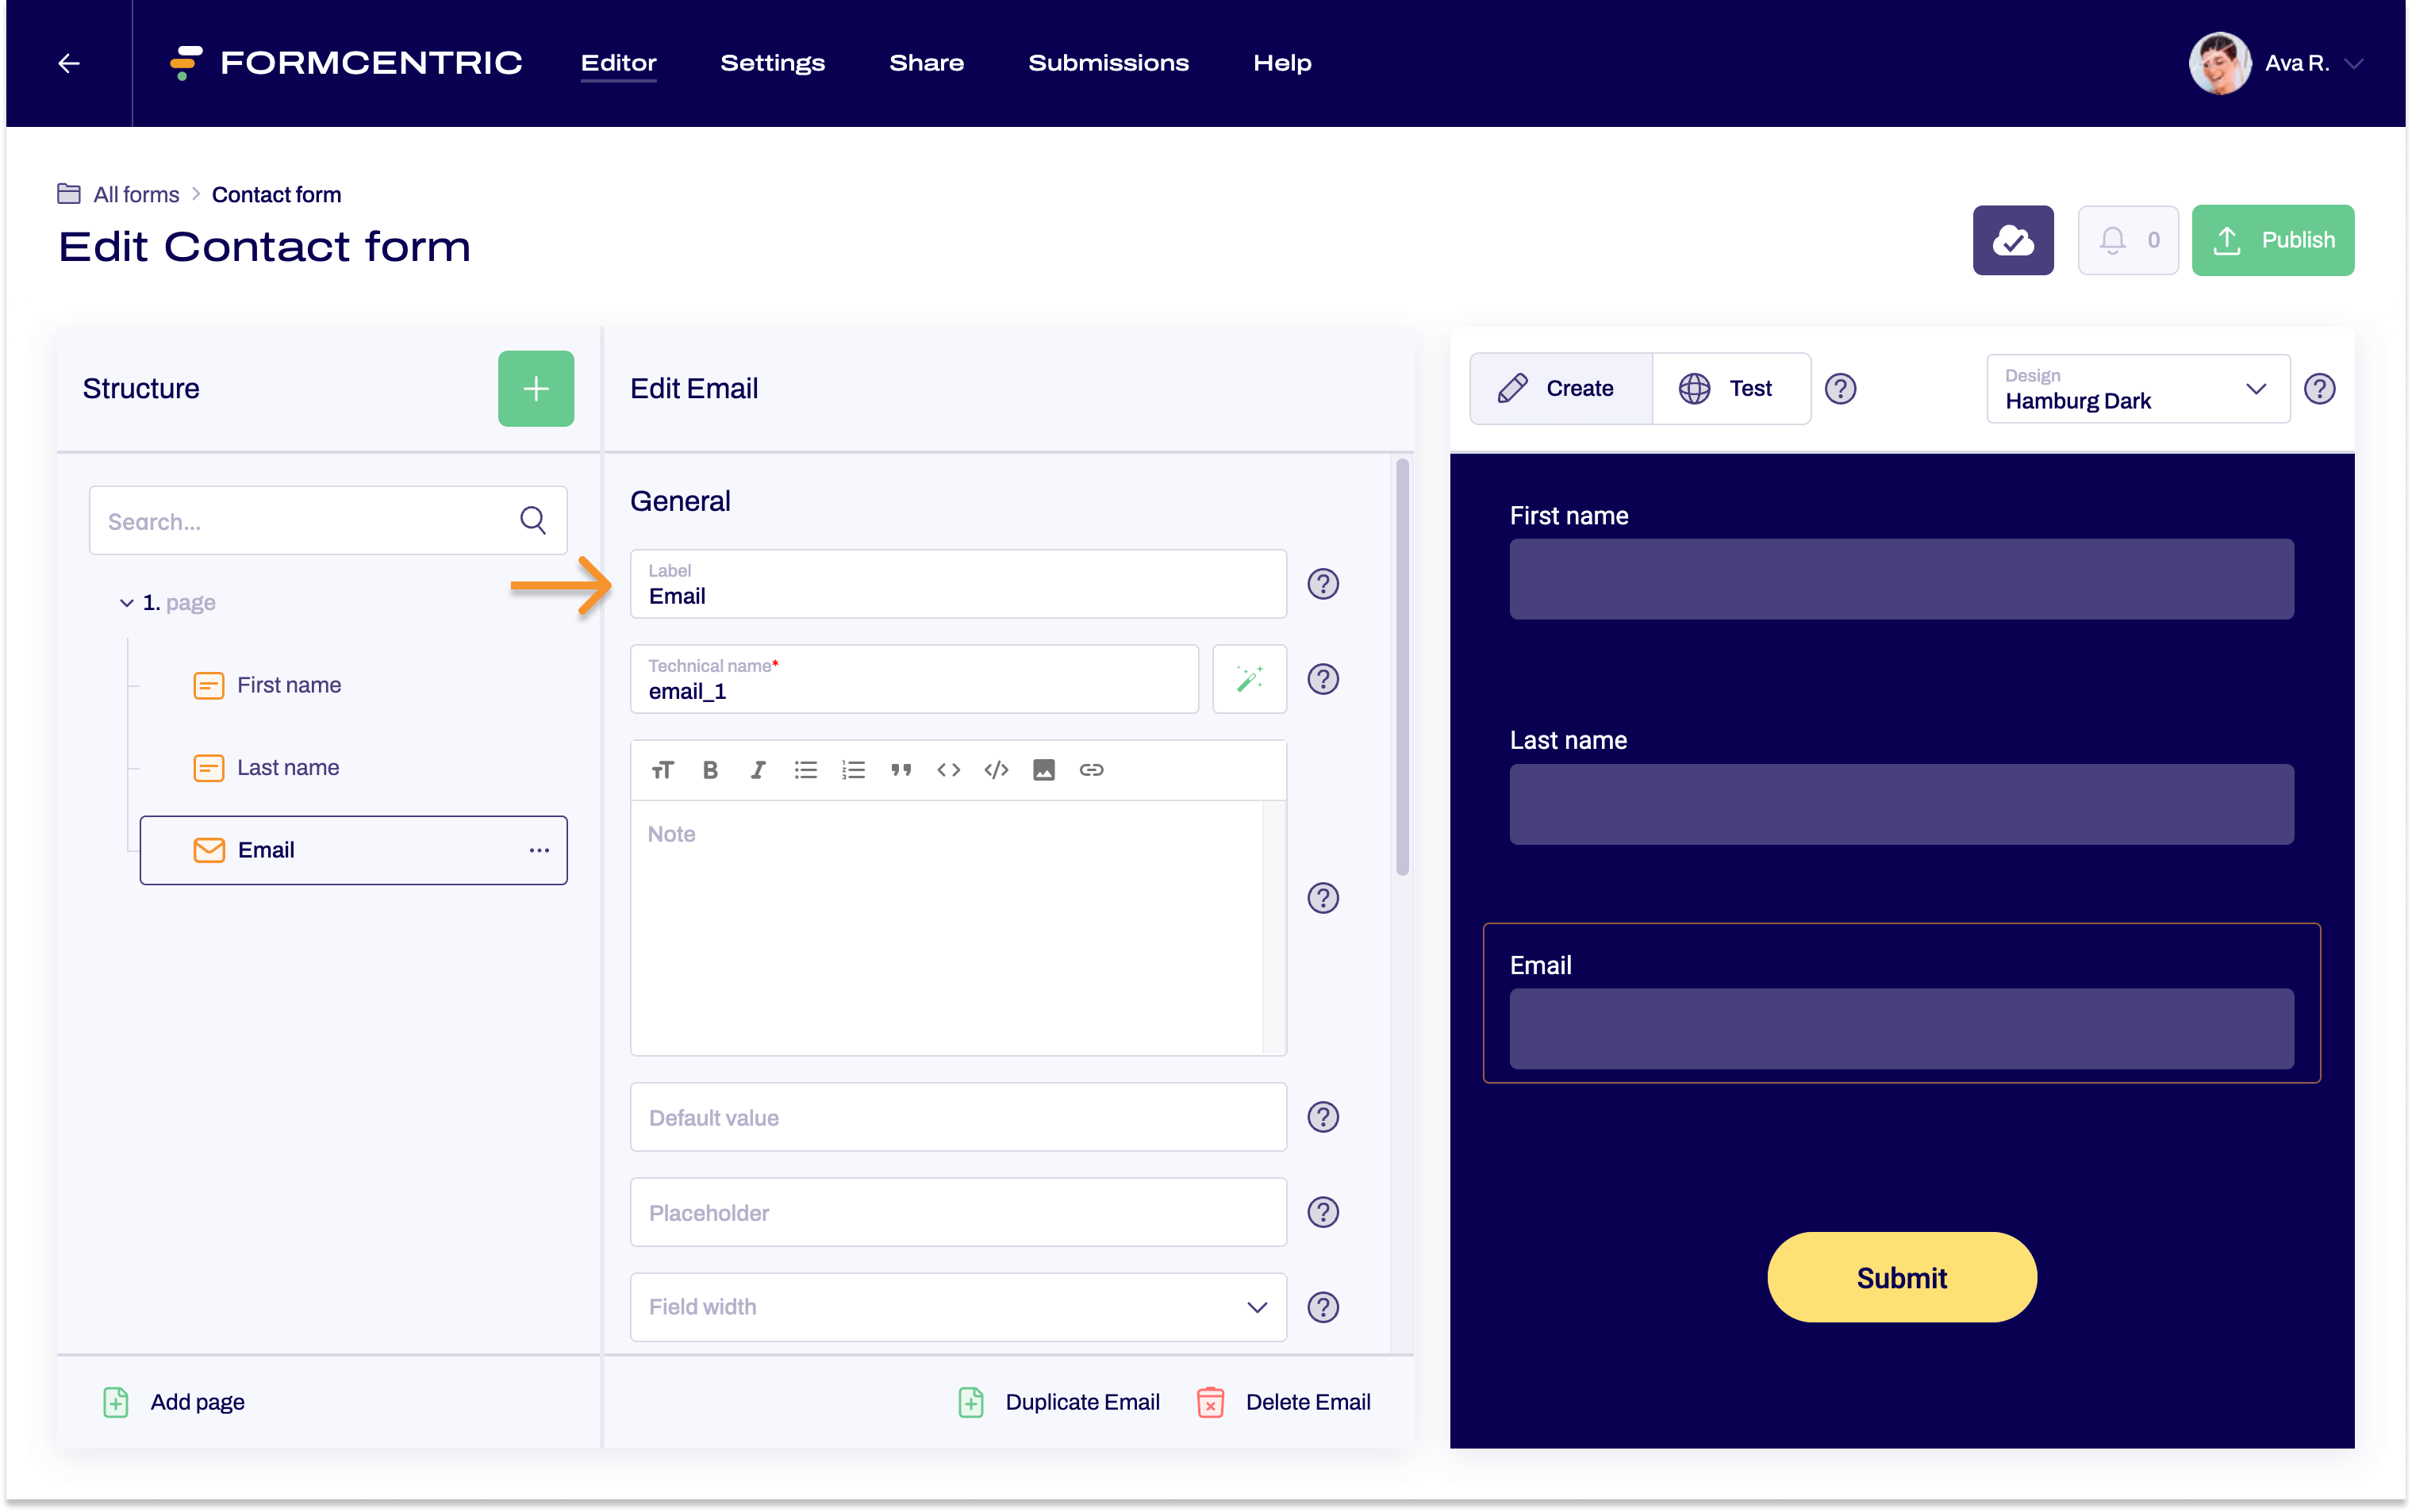
- Add another Short text form element and label it as Last name.
- Add the Email form element and label it accordingly.
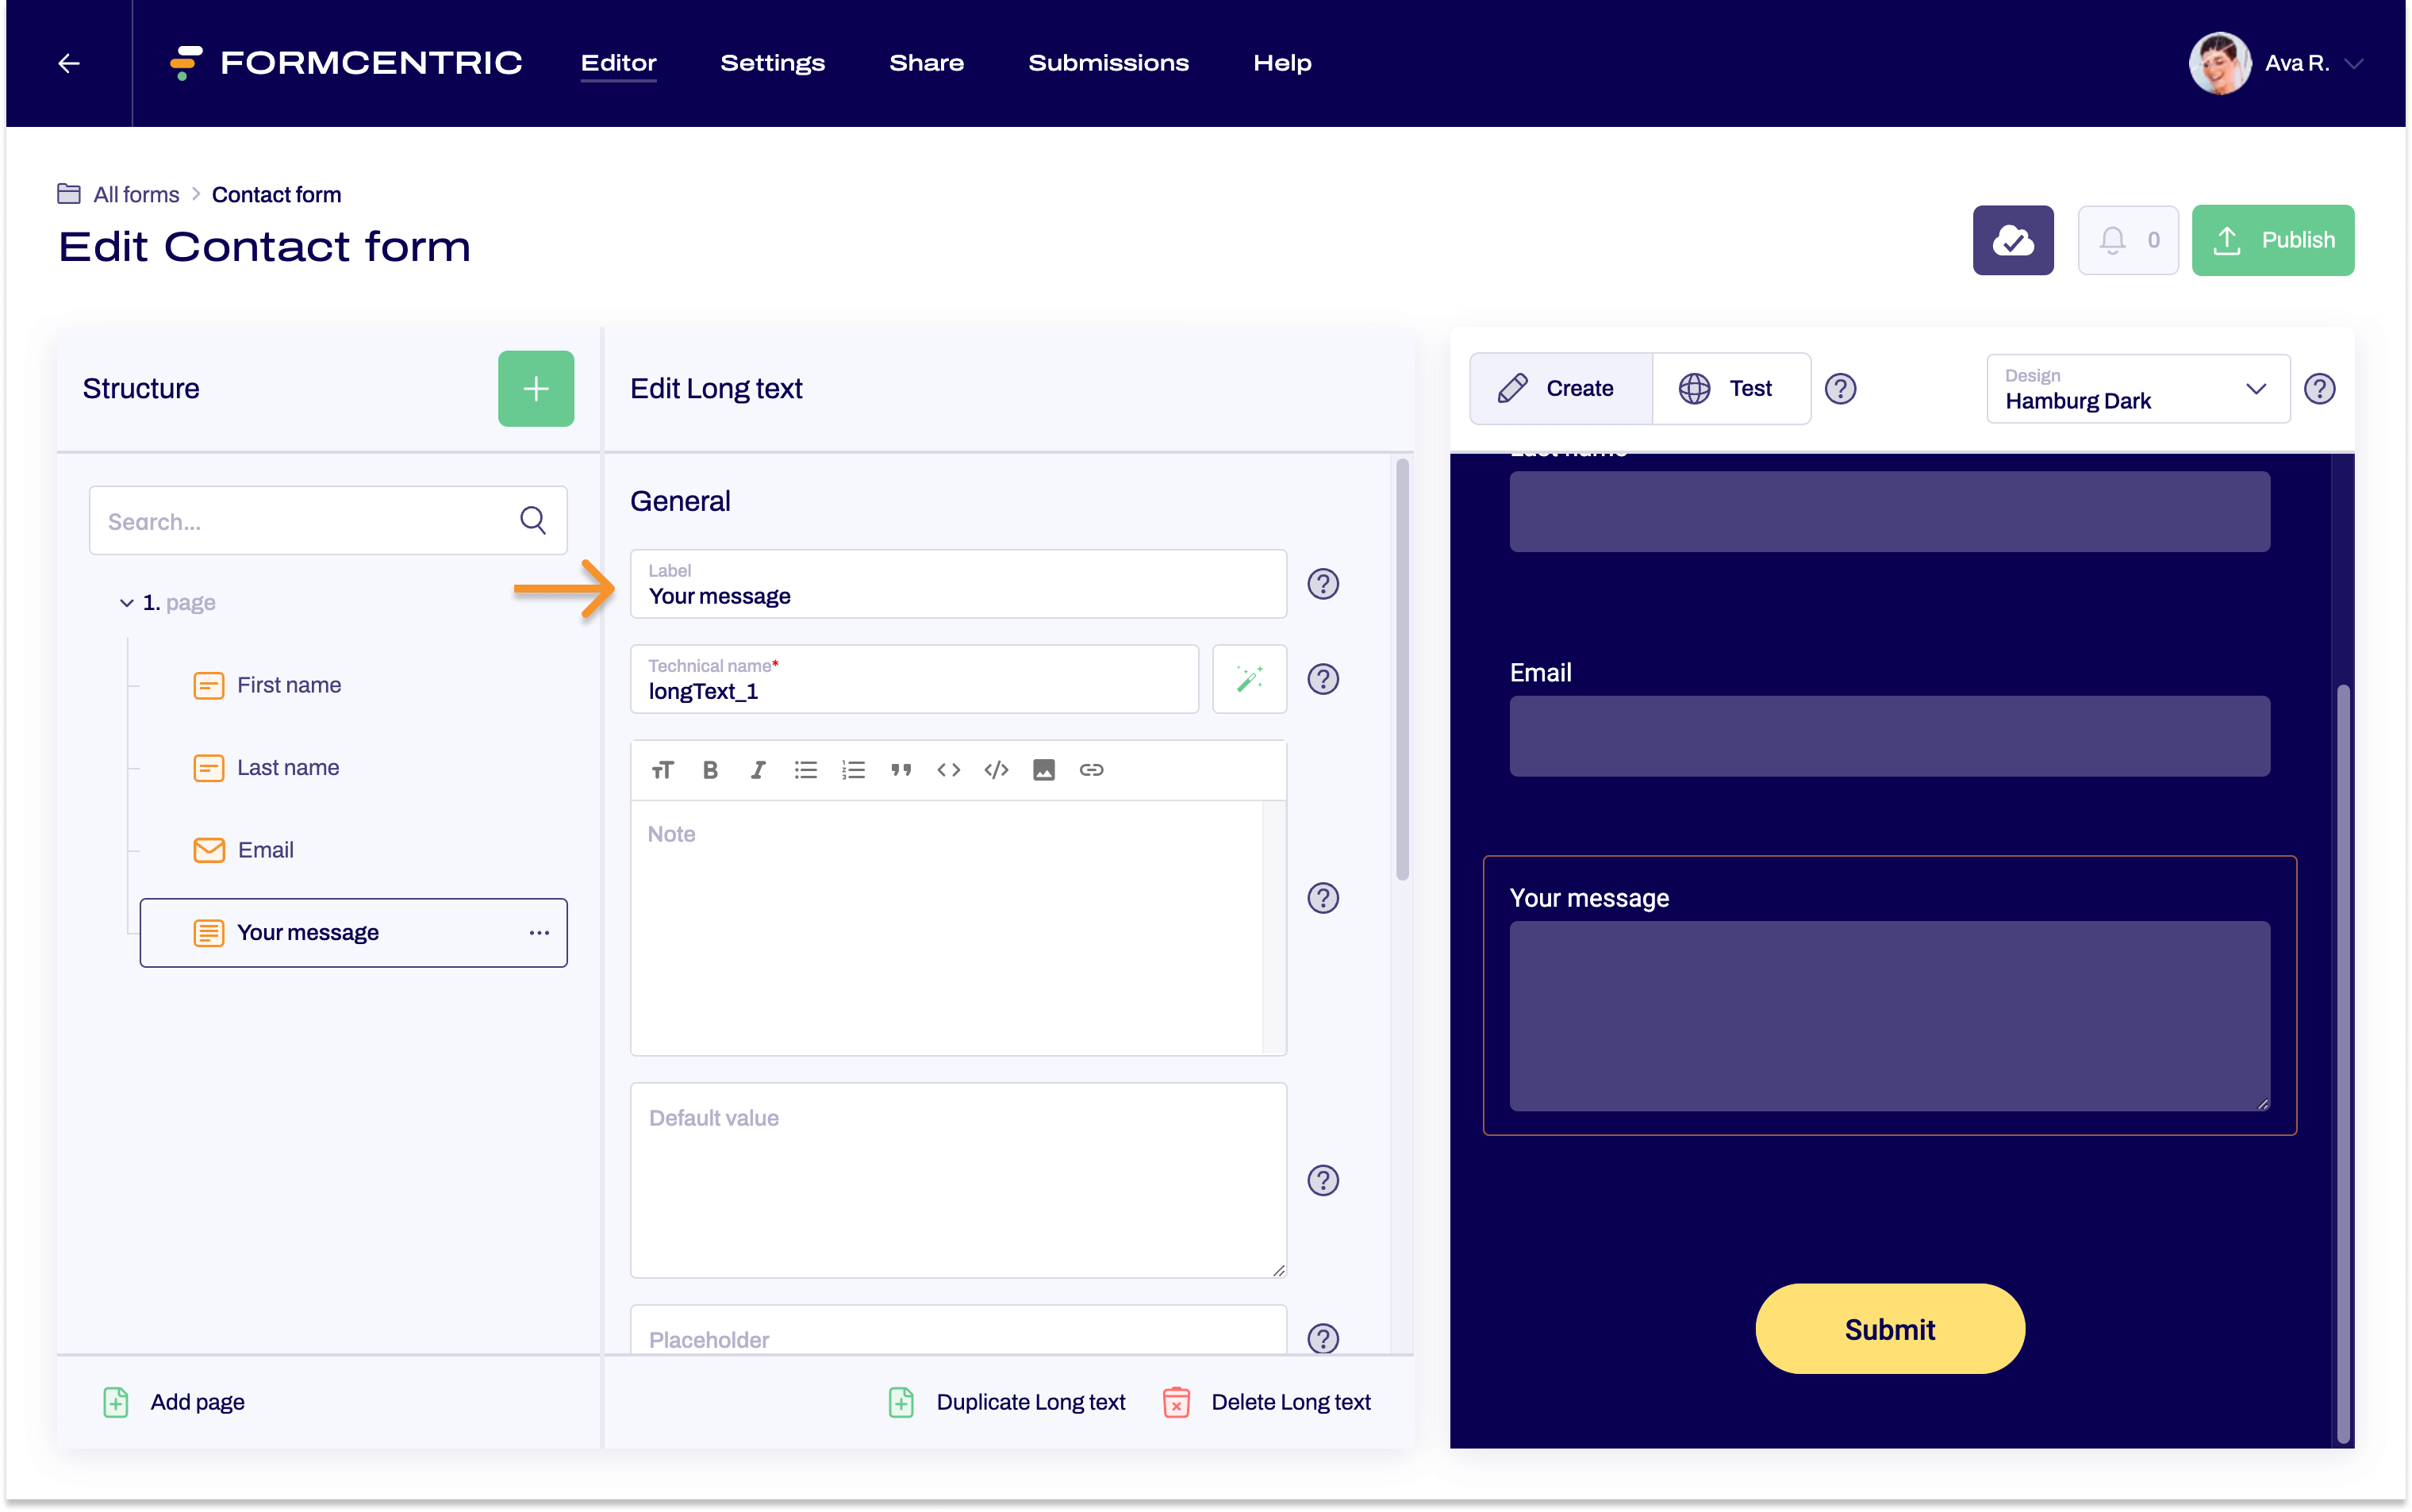
- To let users enter the reason for their enquiry, add the Long text form element and label it with Your message.
- To complete the form, we can now add a heading.
In the form tree, click 1st page right at the top, so that the page properties are displayed in the editing area.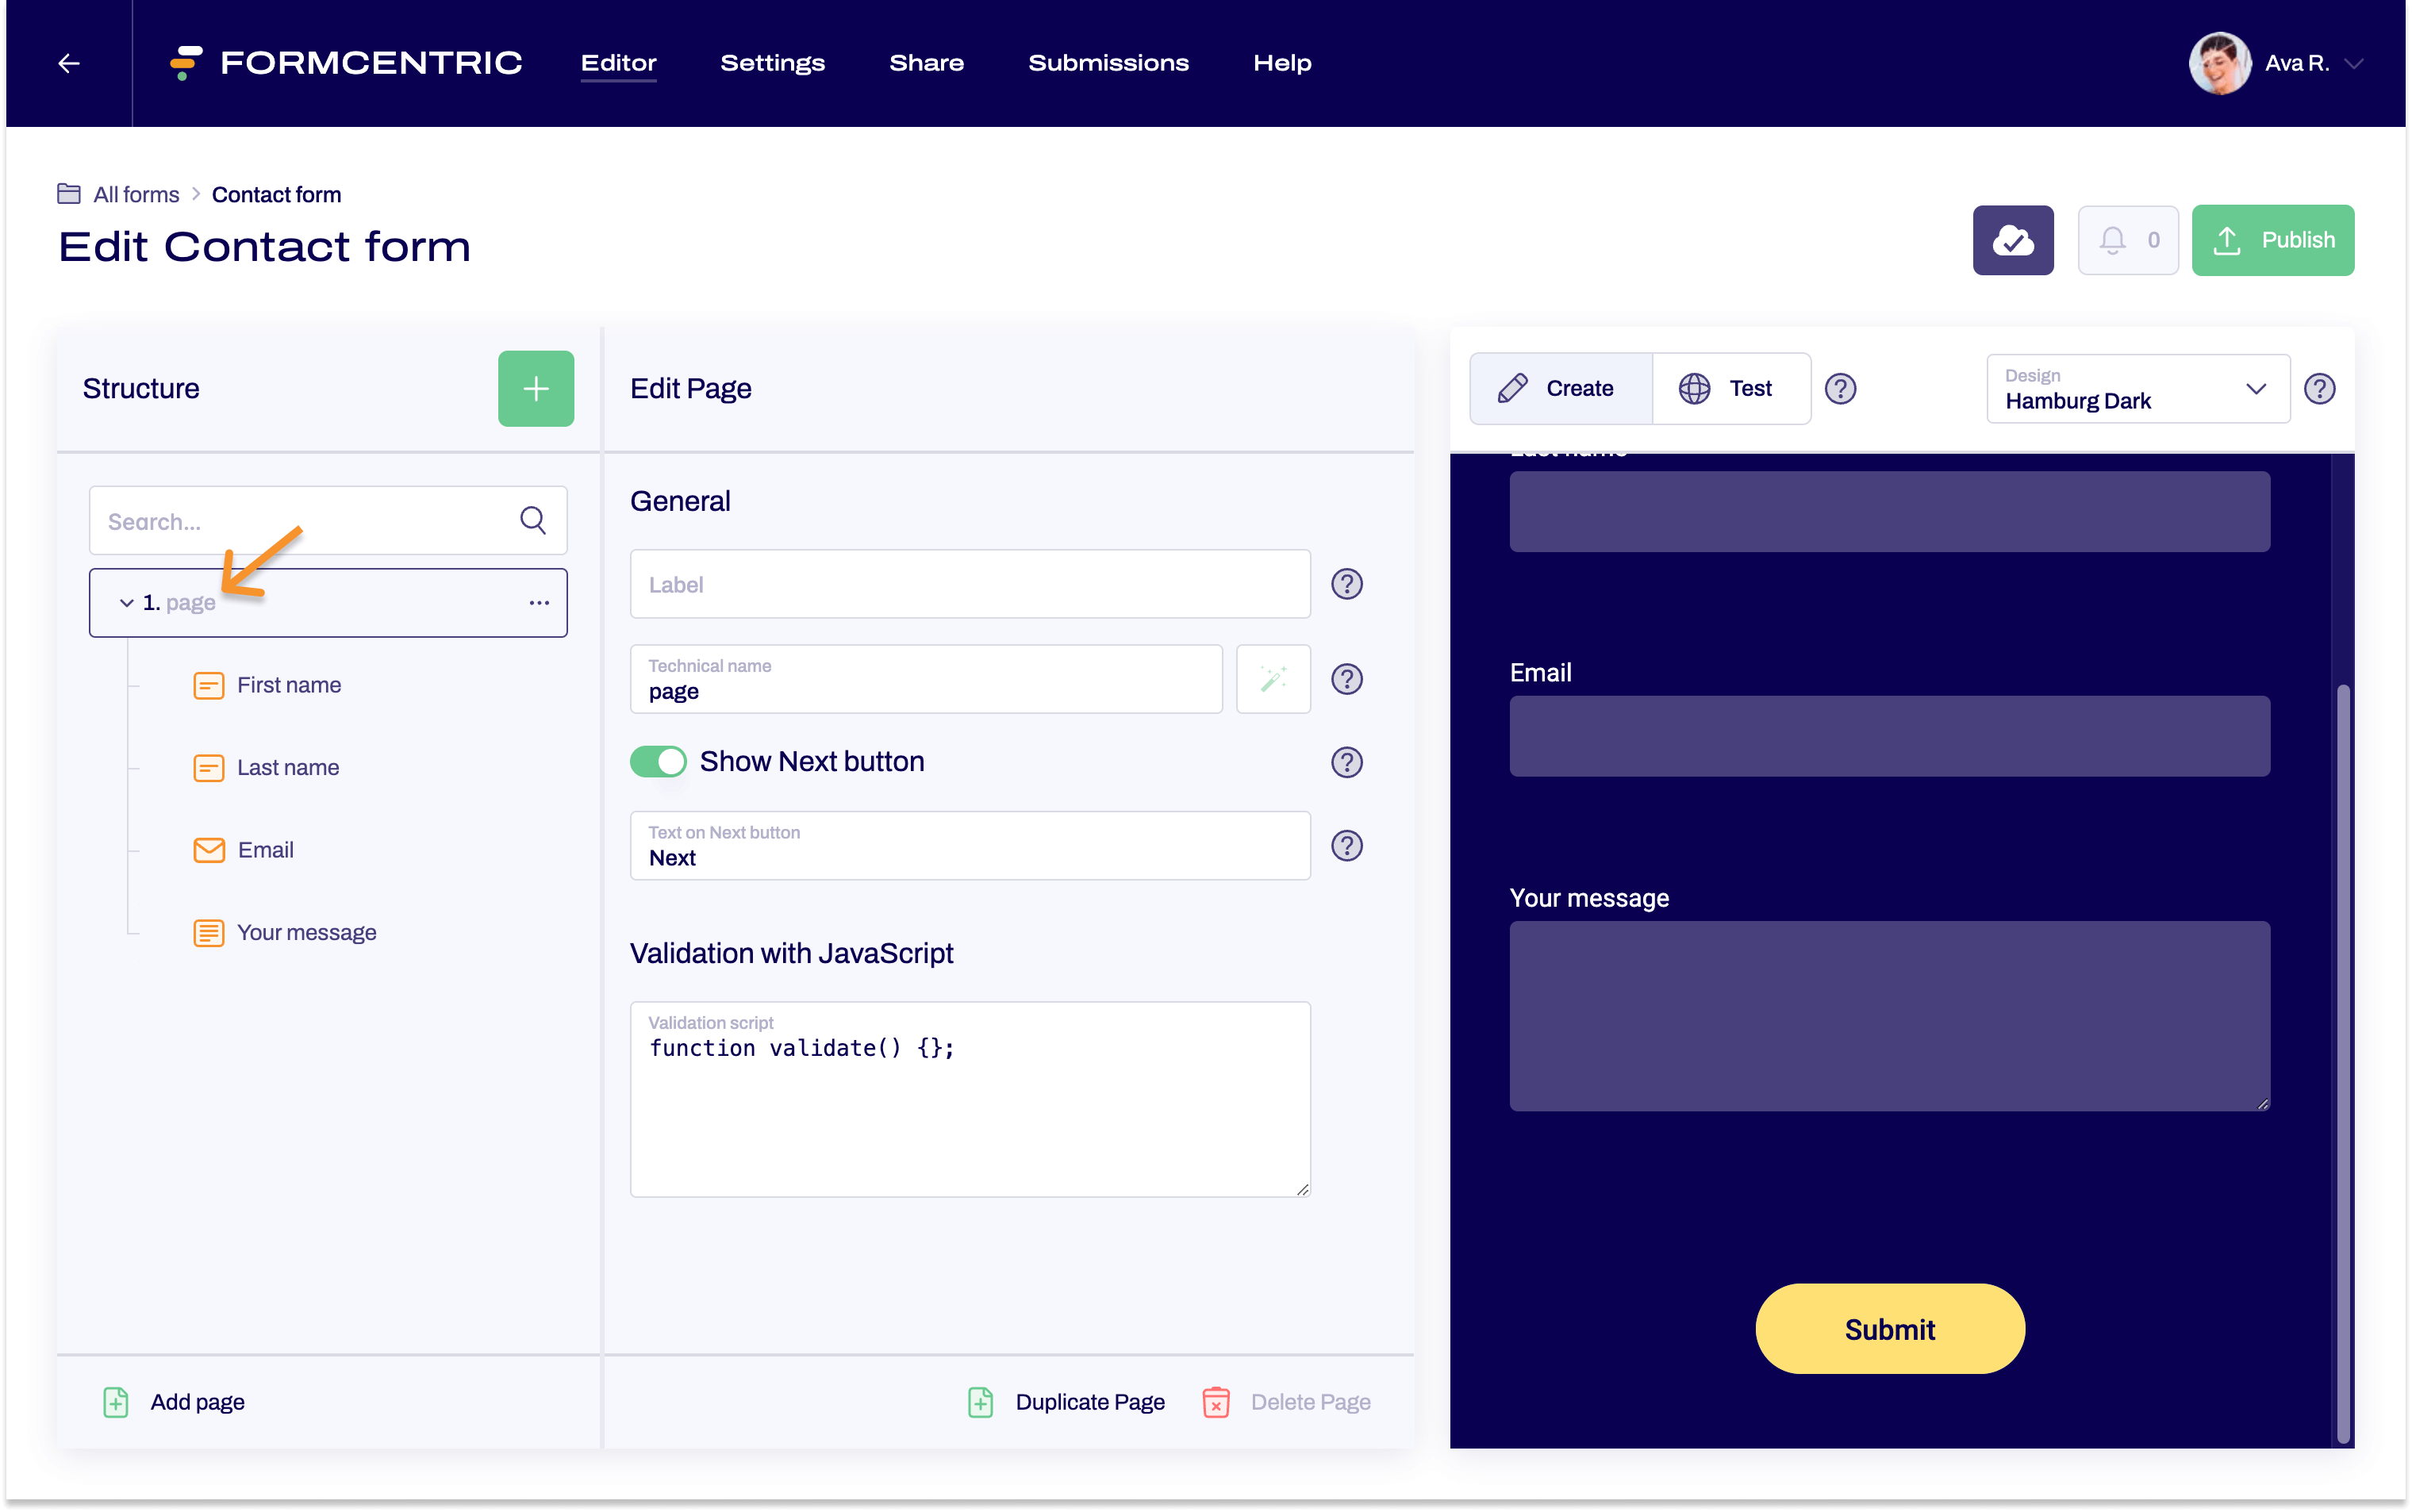
- Go to Label and enter Contact form.
The contact form is now created.
Setting up a confirmation message
When users fill out and submit the form, you want to display a confirmation message that refers to the form that they have just sent.
To do this, you switch to the Settings area for the form, where you then configure the confirmation message.
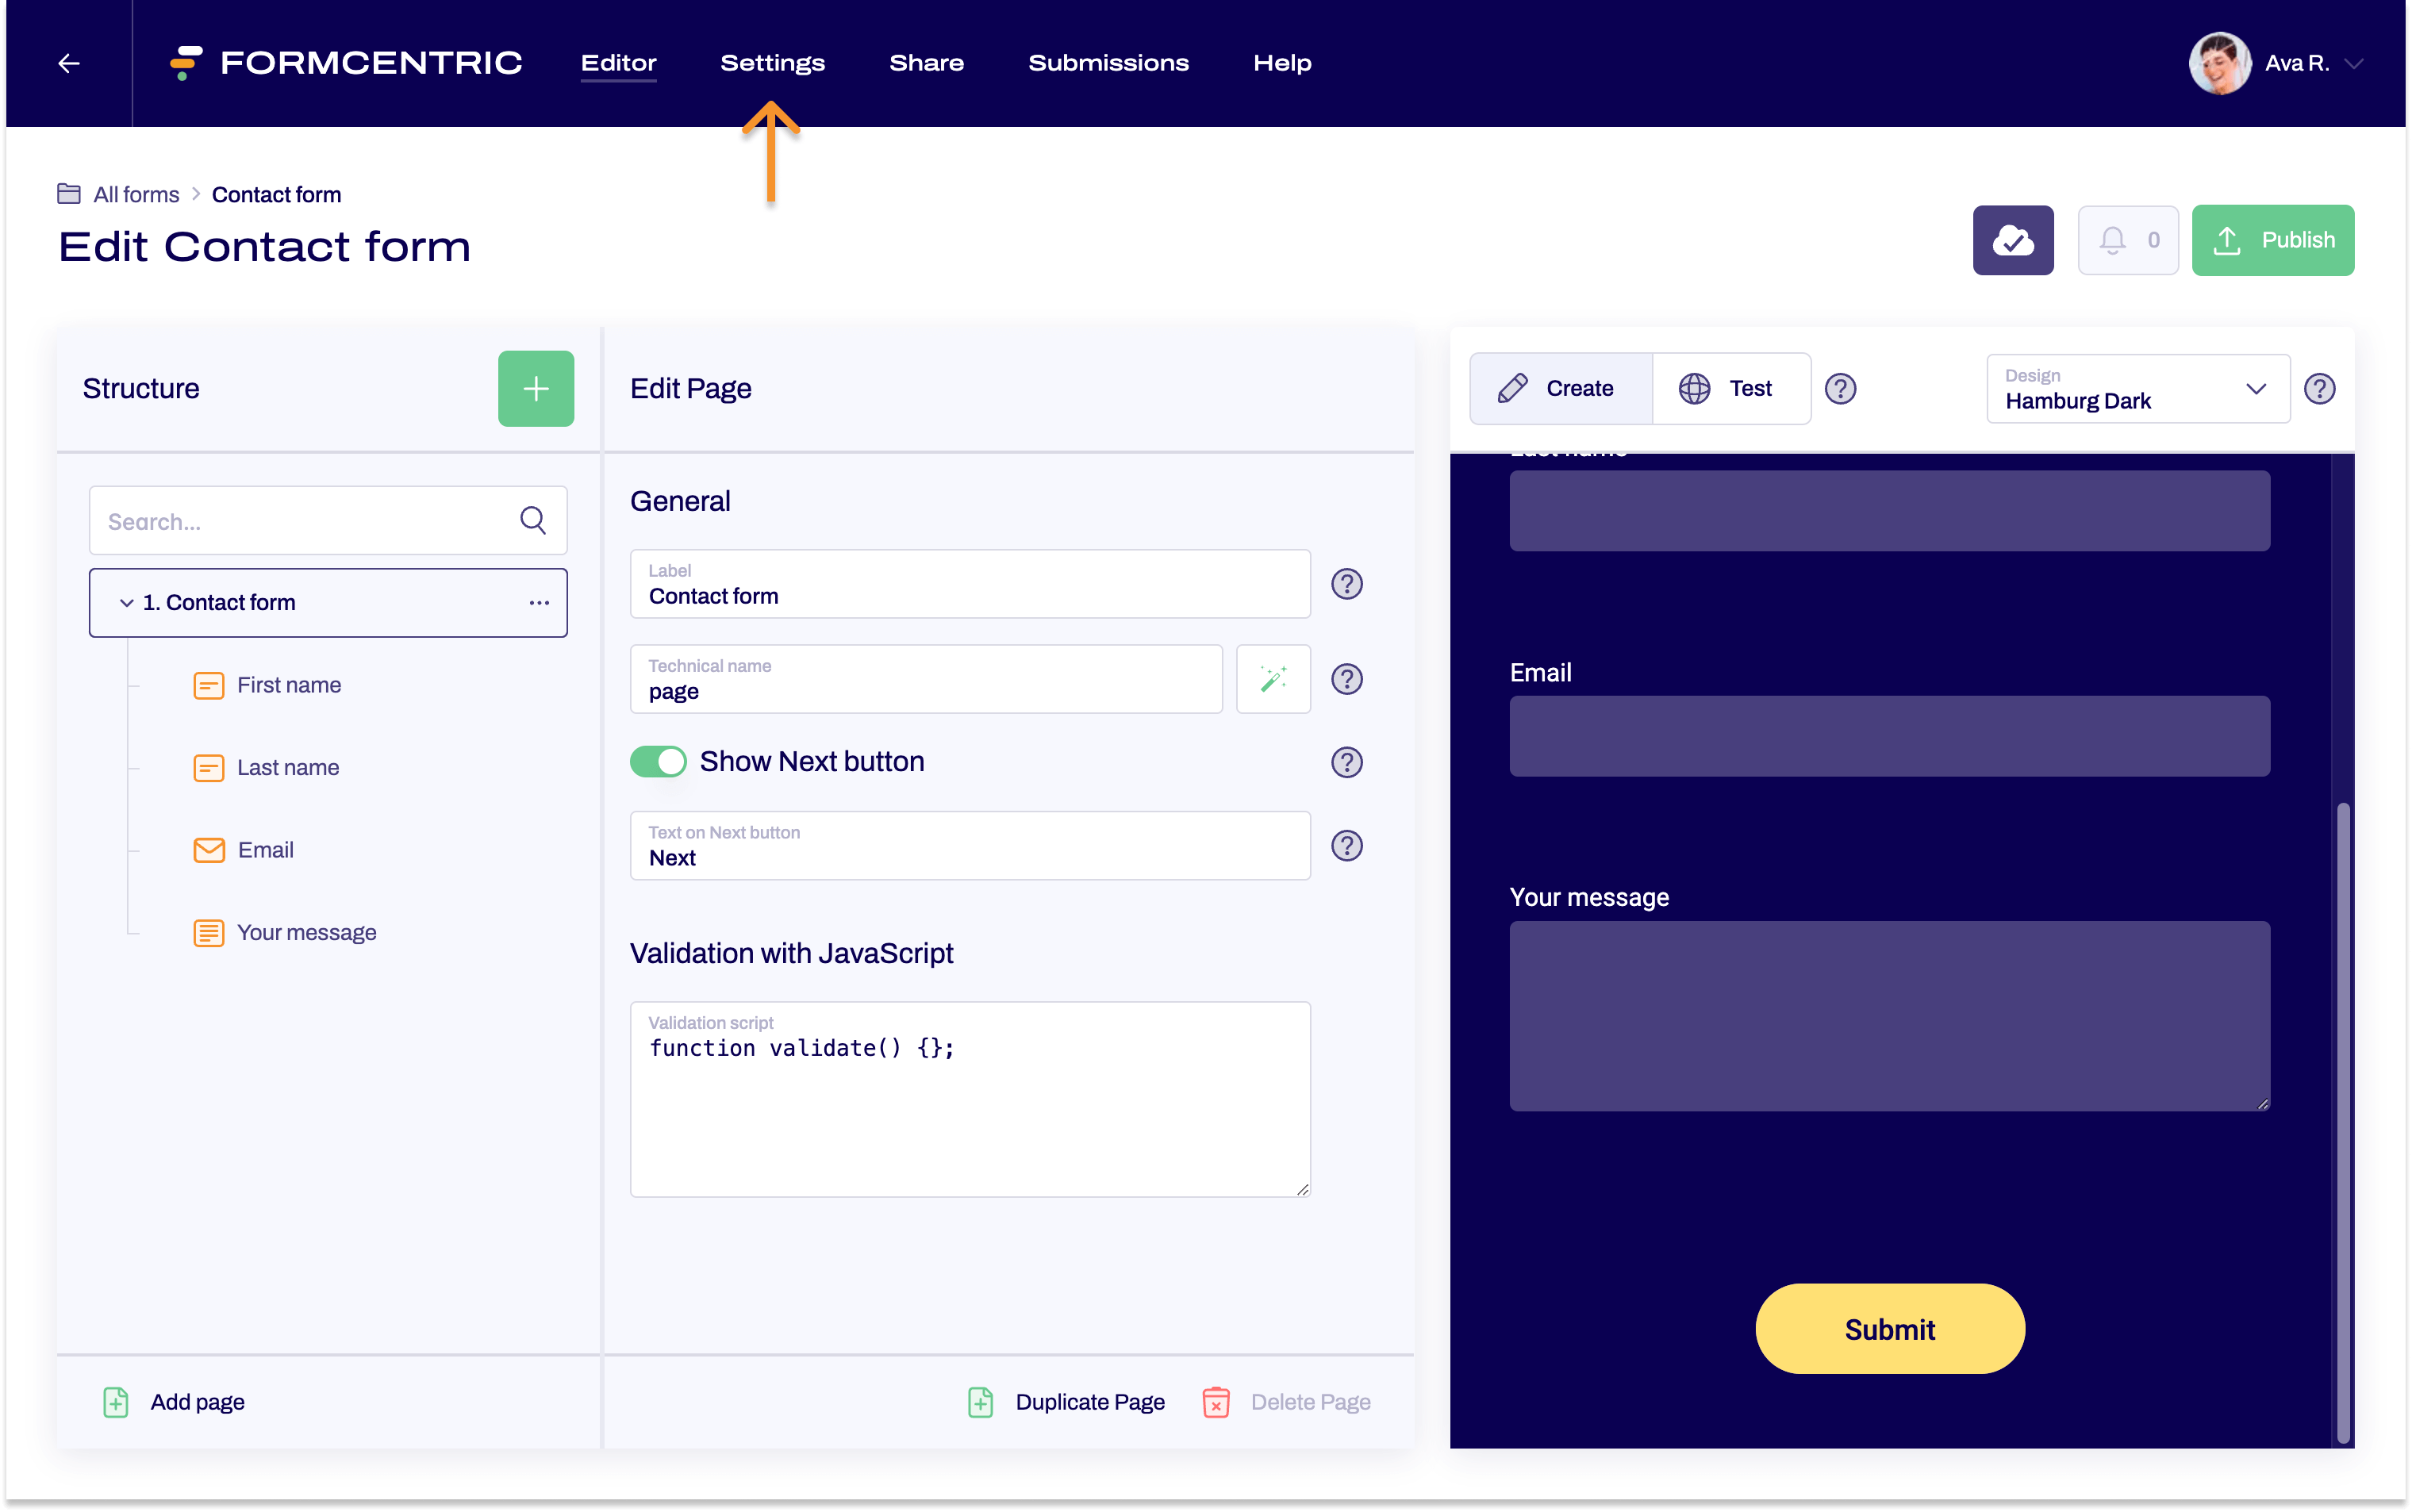
- Click Settings at the top of the screen.
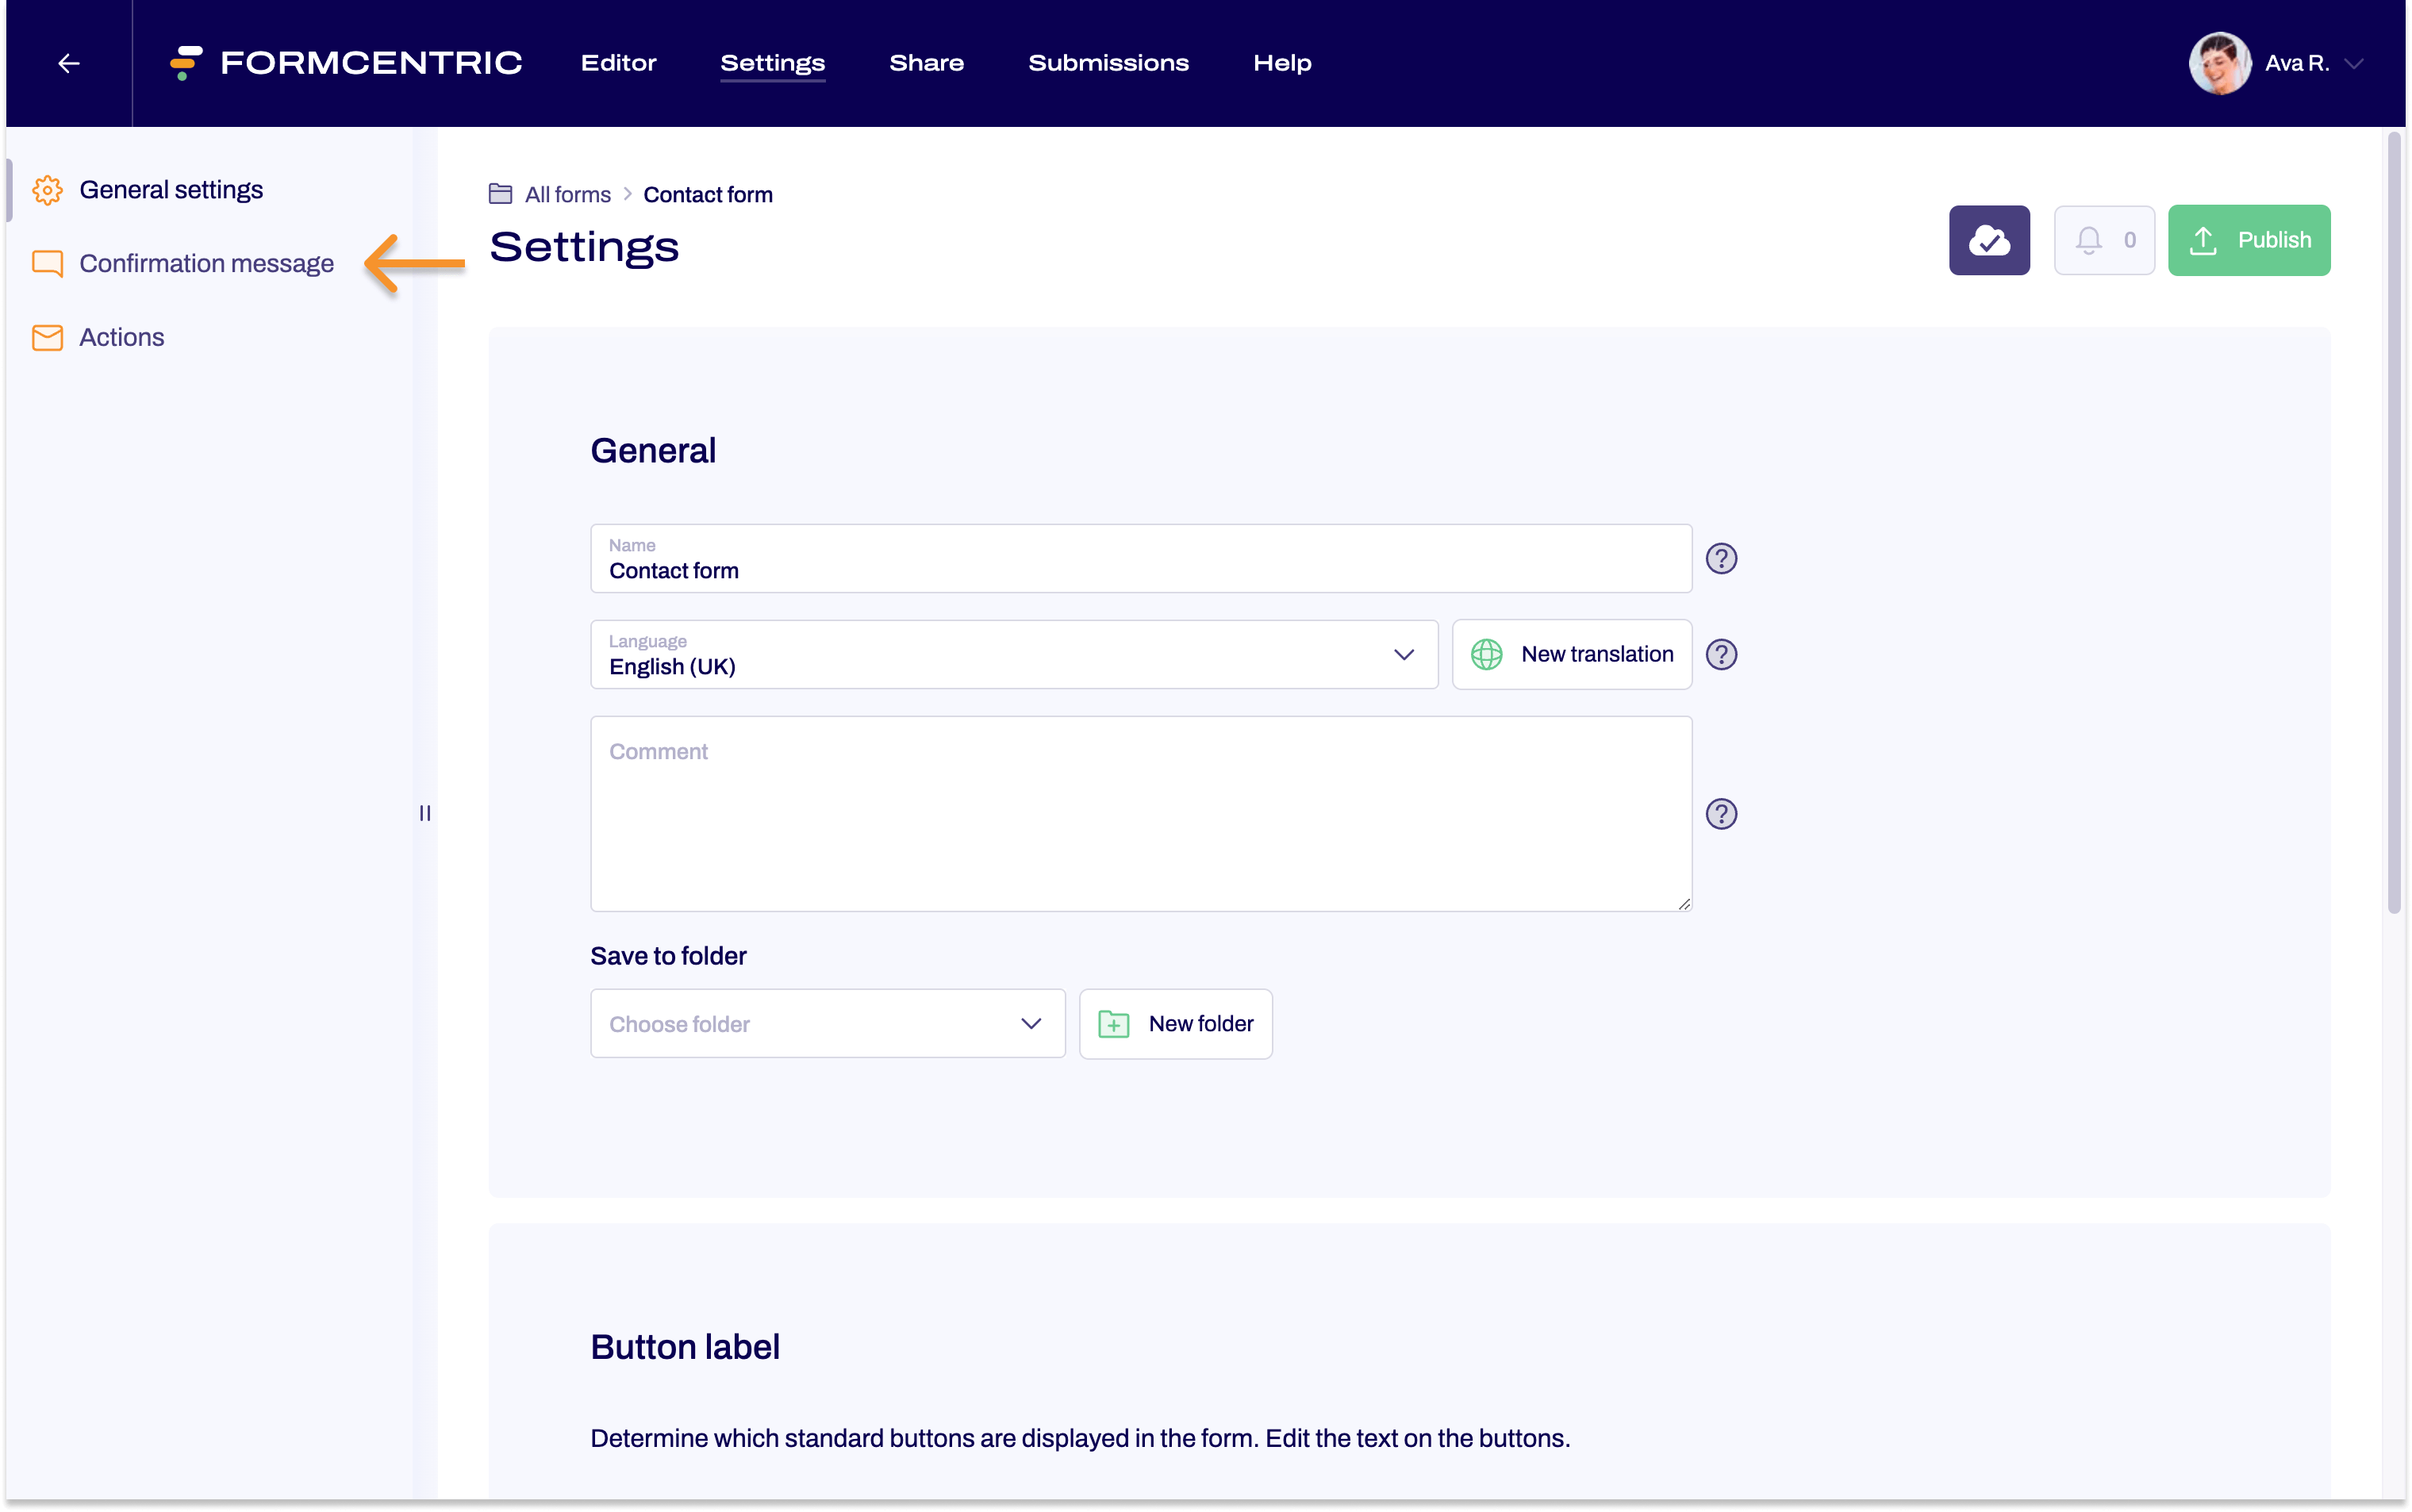
- In the Settings area on the left, click Confirmation message.
- Delete the default text and enter your own confirmation message.
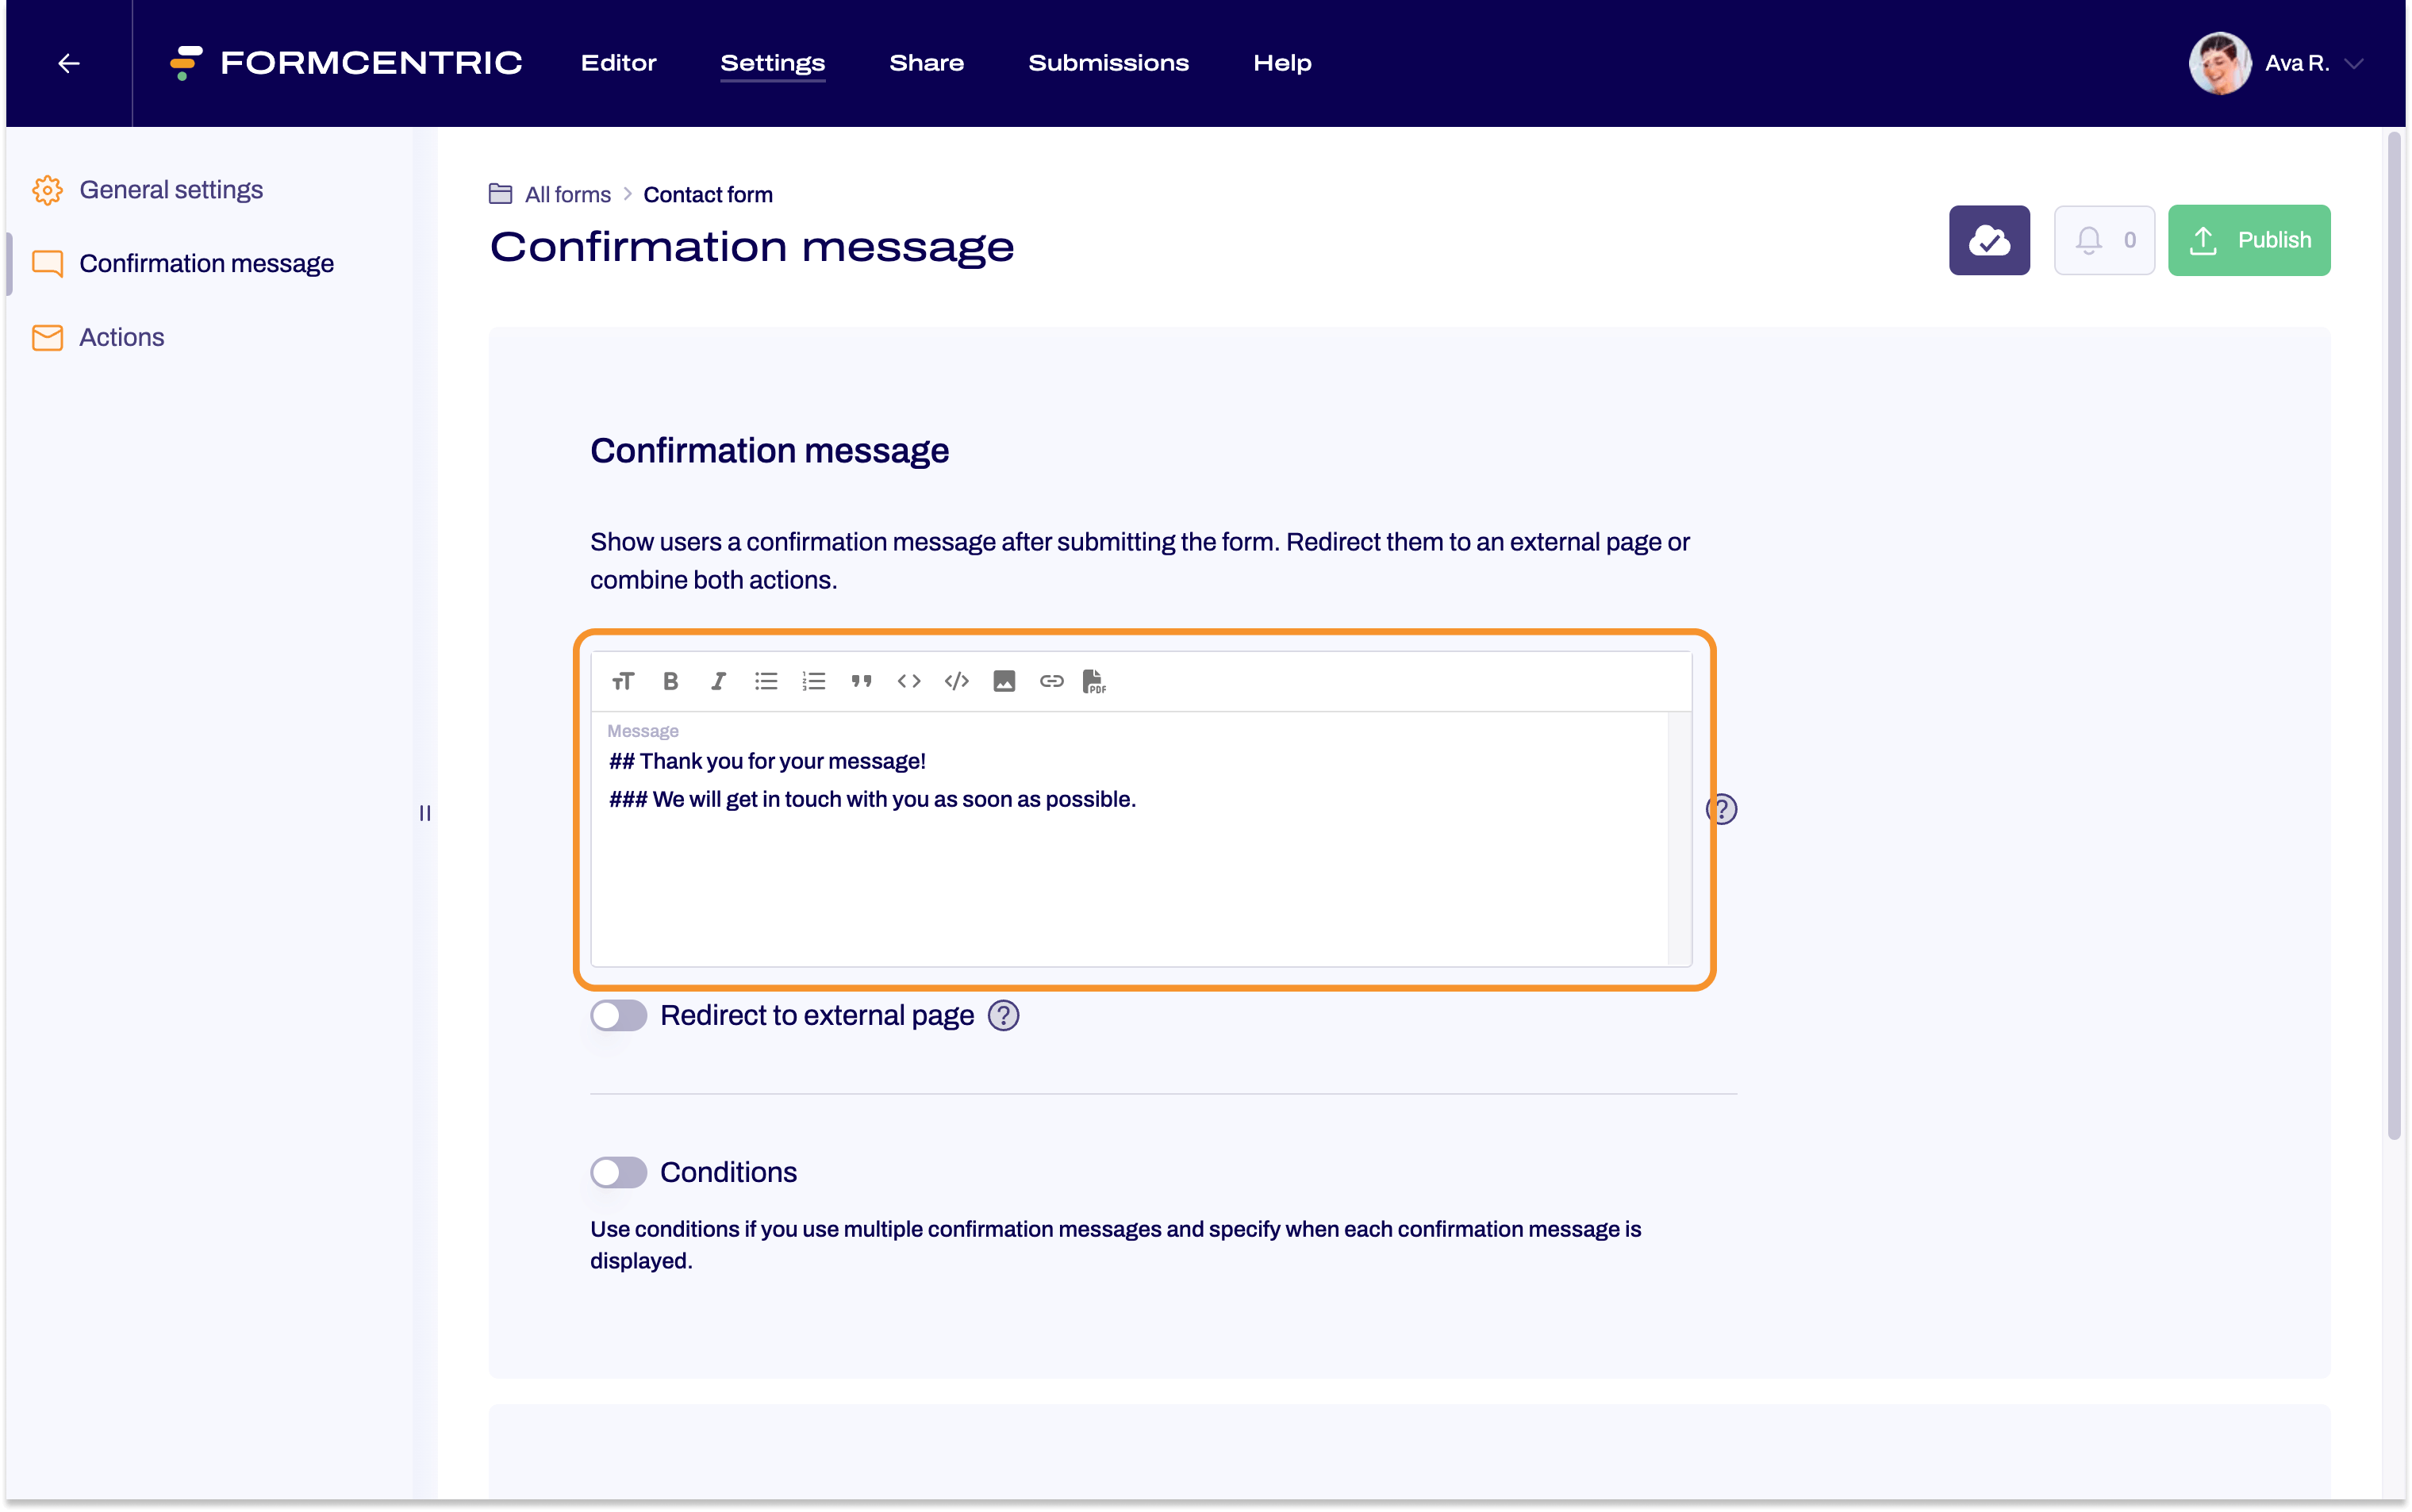
Your confirmation message is now set up and will be displayed when the form is submitted.
Please also read the article Setting up confirmation messages.
