Setting up email notifications
Last updated:
Use email notifications to create automated emails for your workflow. These can be emails that forward newly received form input to your team, for example, or which inform you about new form submissions. You can also use email notifications to send an automated welcome mail in response to users subscribing to your newsletter or to send them a summary of the data they have entered in your form.
With email notifications, you set up emails that forward the information that you define to the correct individuals at the moment when users submit your form – as a fully automatic process, without requiring any further intervention on your part.
Apart from saving you valuable time and money, automated emails also help to avoid human error. Once you have set up email actions, you no longer risk overlooking form submissions or forgetting to send welcome mails.
Setting up automated answers to your users
What happens after your users have filled out a form and submitted it?
Set up an email notification and inform your users that their form data has been successfully received. Use this email to send your users a summary of their form input, explain the next steps in the process or provide them with other information. This might involve explaining what happens next when users have just submitted an insurance claim, for example, or sending new subscribers a welcome mail.

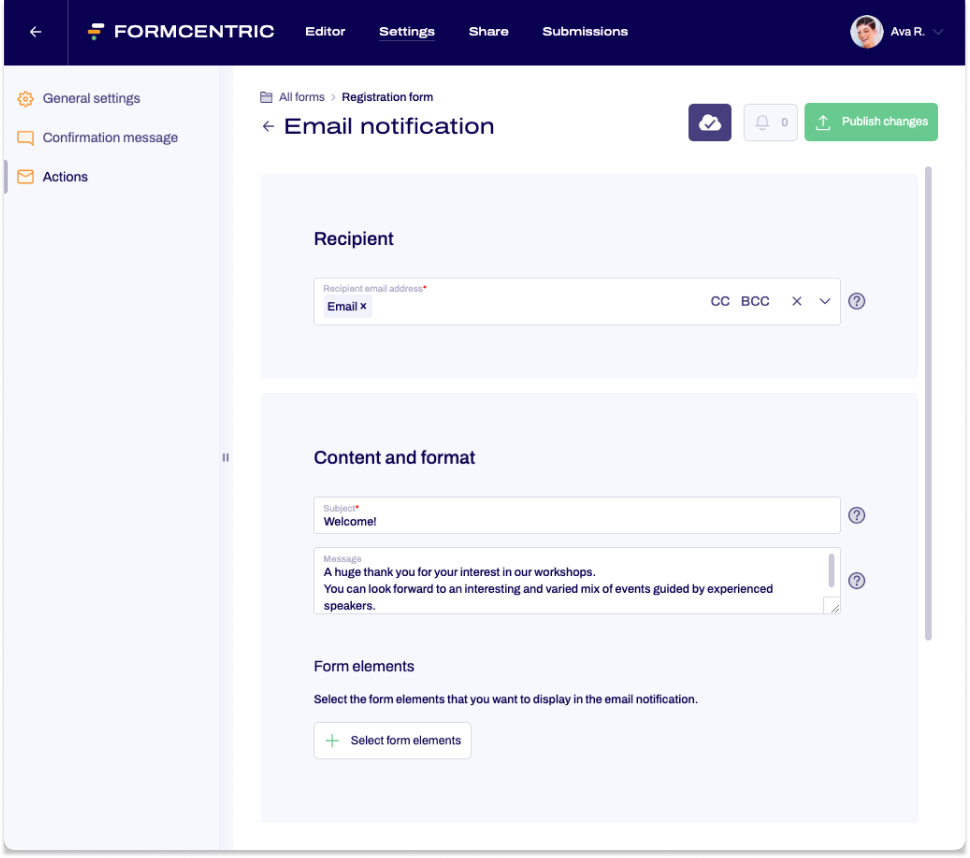
To set up an automated answer to your users, proceed as follows:
- In the Forms area, click the name of the form for which you want to set up an automated answer.
The form is opened in the Editor. - Click Settings on the top menu bar and then Actions in the left-hand navigation area.
- Click New email notification and then set up the new email notification as follows.
Property |
Description |
| Recipient email address | Select the form field into which users enter their email address. The form field must be a required field. The confirmation email will be sent to the email address entered. |
| Cc | Enter email addresses here to which copies of the email should be sent. Use a comma to separate multiple email addresses. |
| Bcc | Enter email addresses here to which blind copies of the email should be sent. In this case, each recipient sees only their own email address. Use a comma to separate multiple email addresses. |
| Sender email address | This email address will appear as the sender of the notification email. Please contact us if you would like a different email address to be used. |
| Reply to | Enter an email address here or select one from the form. Replies to the notification email will be sent to this address. |
| Subject | Enter the subject that is displayed to users when they receive the reply. |
| Message | Enter the text that is shown to users in the email. |
| Select form elements | Select the form elements that you want to have displayed in the automated answer. In the email, the form elements will be displayed in the order in which they are listed here. If you want to use a different order, you can use drag-and-drop to rearrange your form elements.
Click the green button at the bottom right to confirm your selection. All form elements listed in the summary are then listed in the editing area. You can use the recycle bin icon on the right-hand side to delete individual form elements. |
| Condition | Specify the user input here for which the automated answer will be sent or not sent. For more information about conditions, please see our article on Conditions |


