From form creation to submission
In this article, we introduce you to an example workflow that shows you how you can create, publish and share a form in just a few steps.
After reading the article, you will also know where to find the responses that have been submitted for your form.
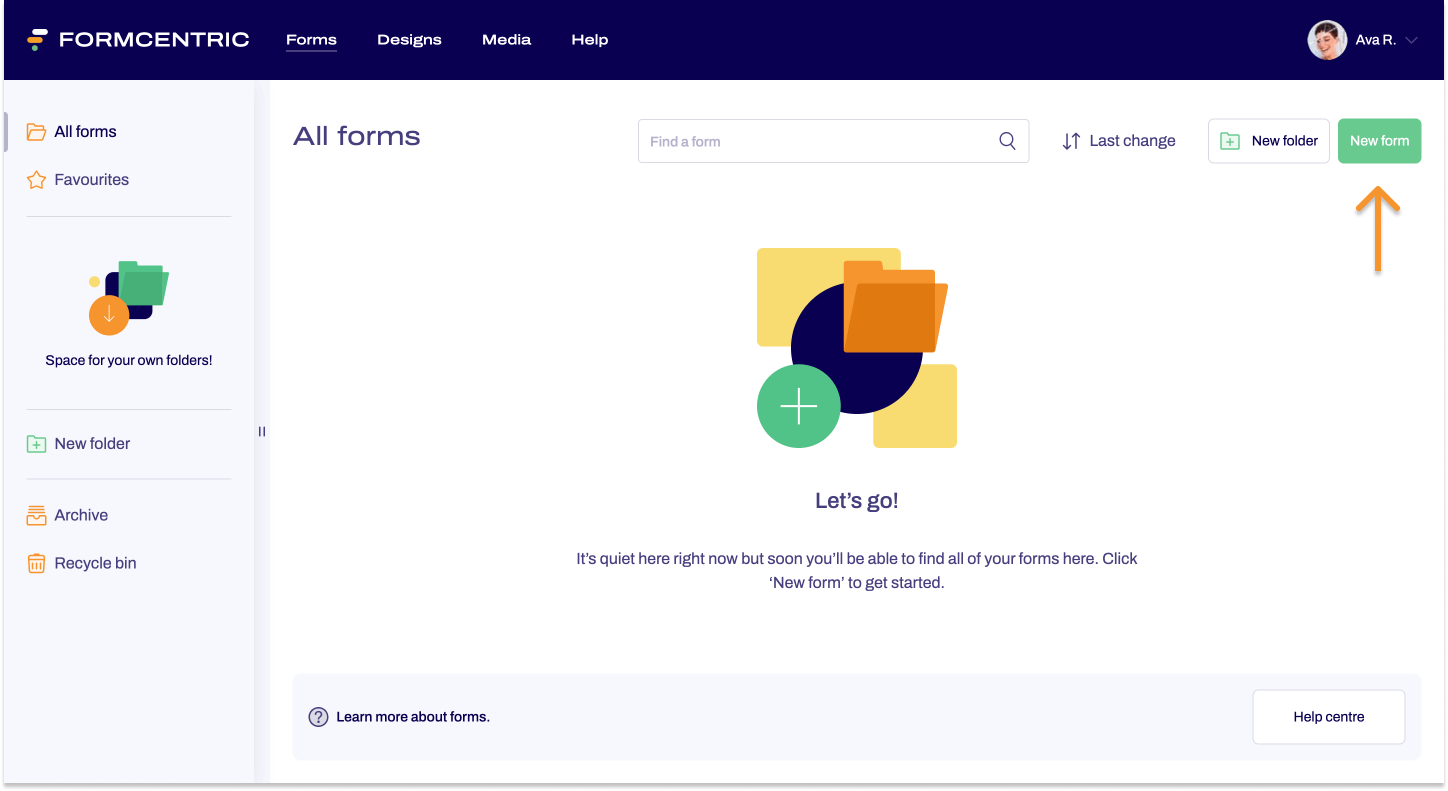
Step 1: Creating a form
In Formcentric, you can either start by creating a completely new, individual form or you can use one of the many templates provided.
- Click New form.
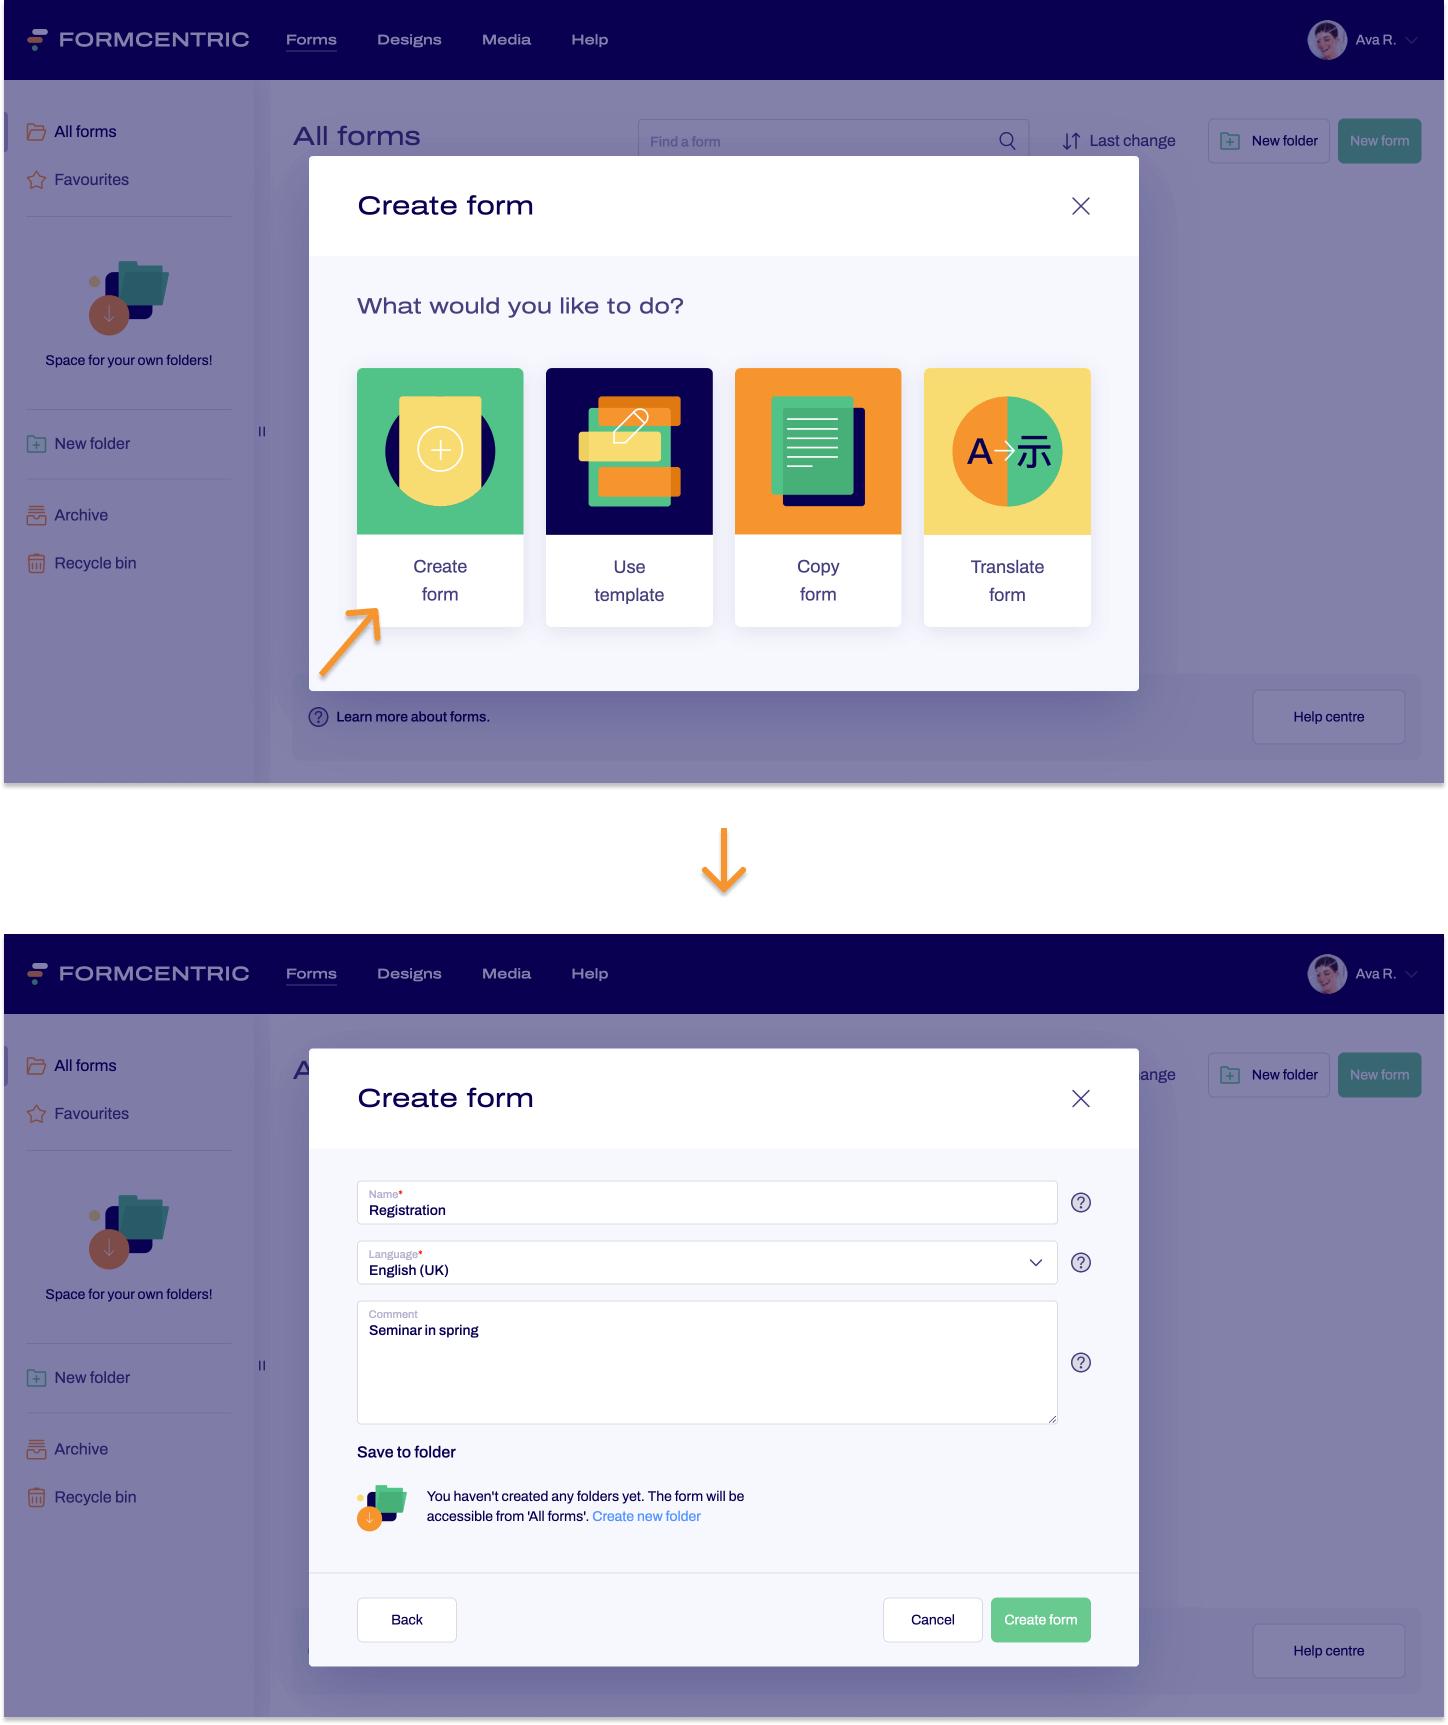
- Click Create form and enter all of the information required.
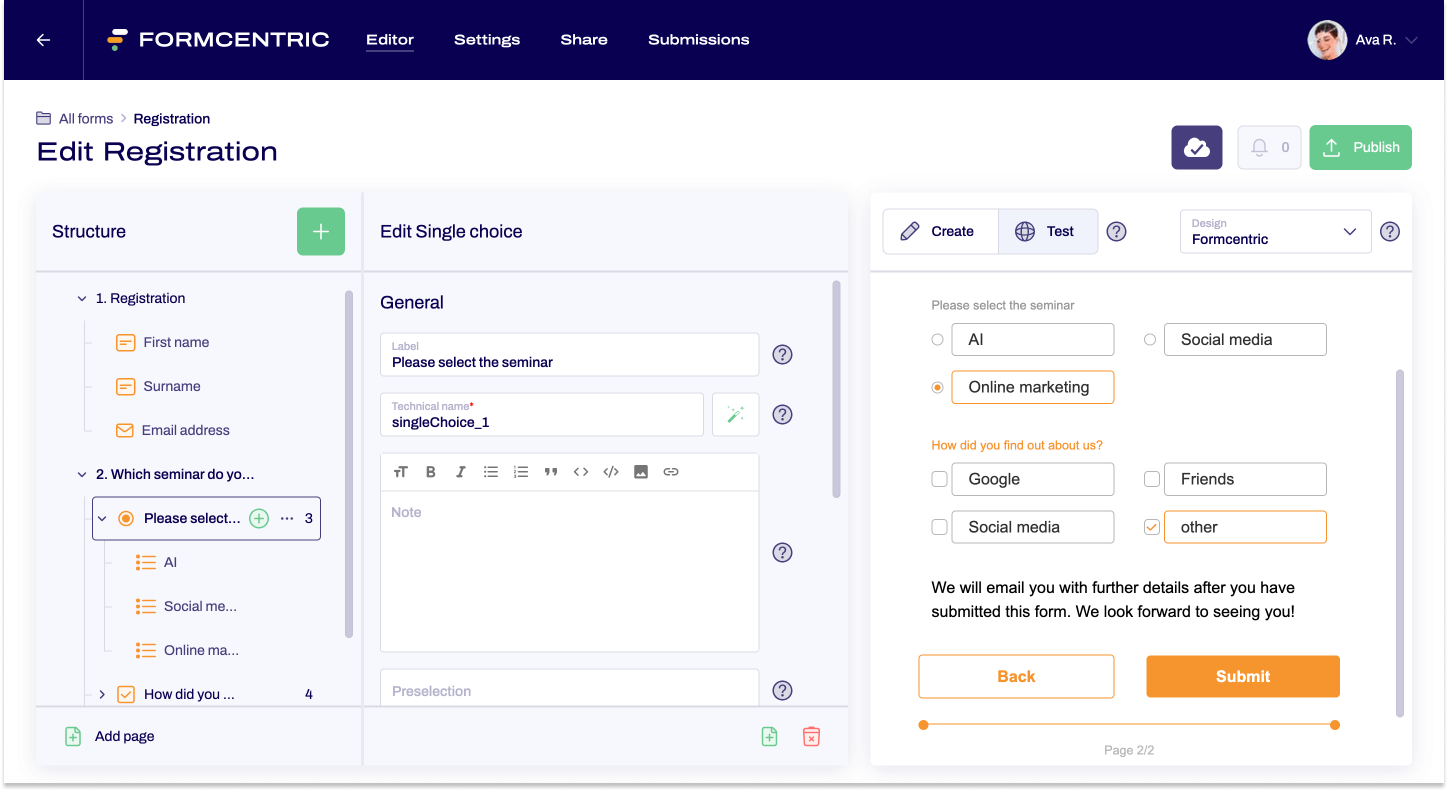
Step 2: Editing the form
You now use the Editor to edit your form. You can use form elements such as input fields, email address fields, phone number fields and long text fields, as well as including your own drop-down lists. You can also upload media files and define conditions.

Step 3: Testing the form
Before publication, you can put your form through its paces by testing it. In the Editor, use the Test view to try out your form as an end user and confirm that everything is working as it should.
Step 4: Publish the form
Once you are happy with how your form is working and you want to share your form, you can then click Publish.

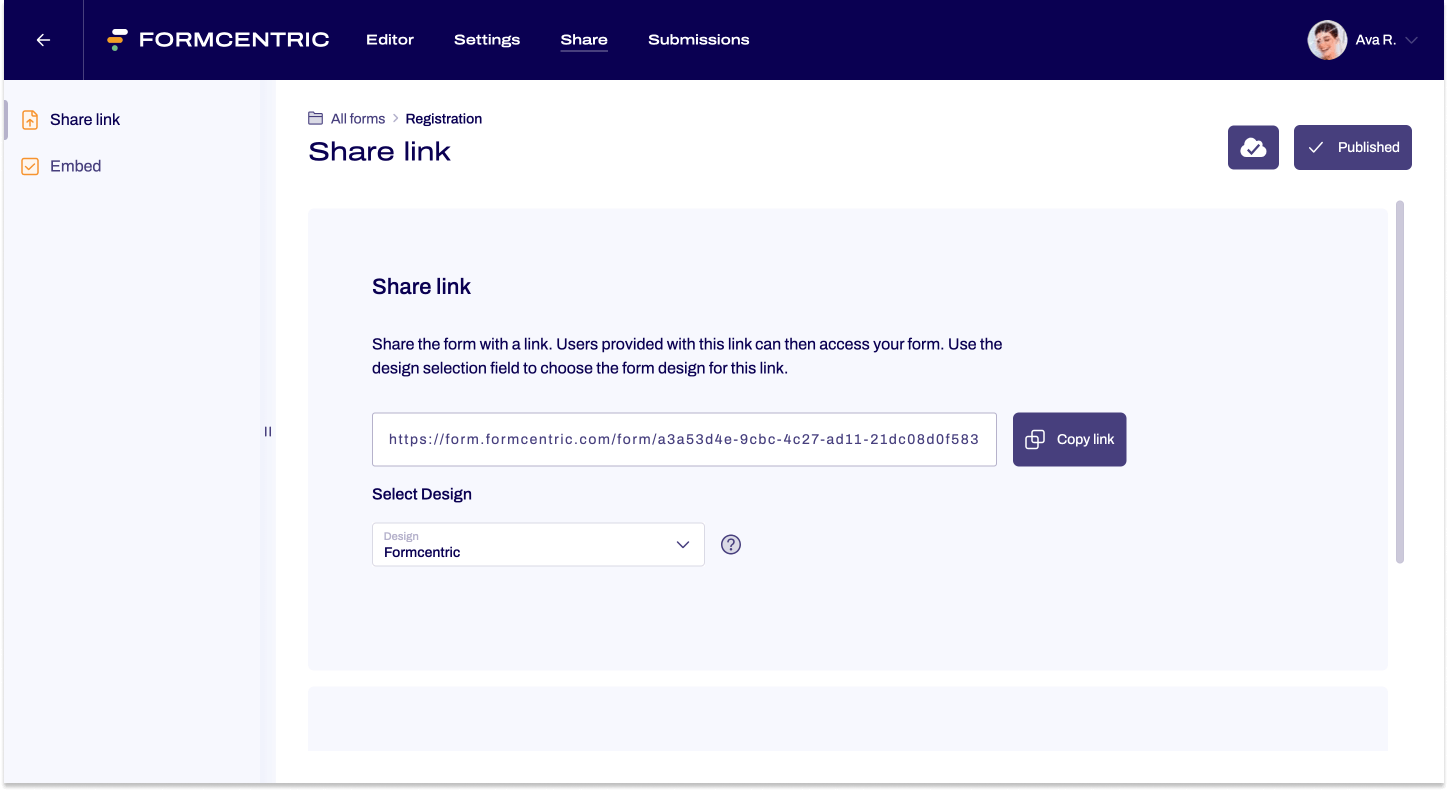
Step 5: Sharing the form
Once you have created and published your form, you can share it with your target audience. You can embed the form in your website or you can use a link to share the form directly. Whichever method you decide to use, everything is handled natively in Formcentric – you do not need to integrate any other systems.
- In the Share area, use the Link to specify the design that you want to use to share your form. You can then copy the form sharing link.
- Use the link to share the form with your target audience.
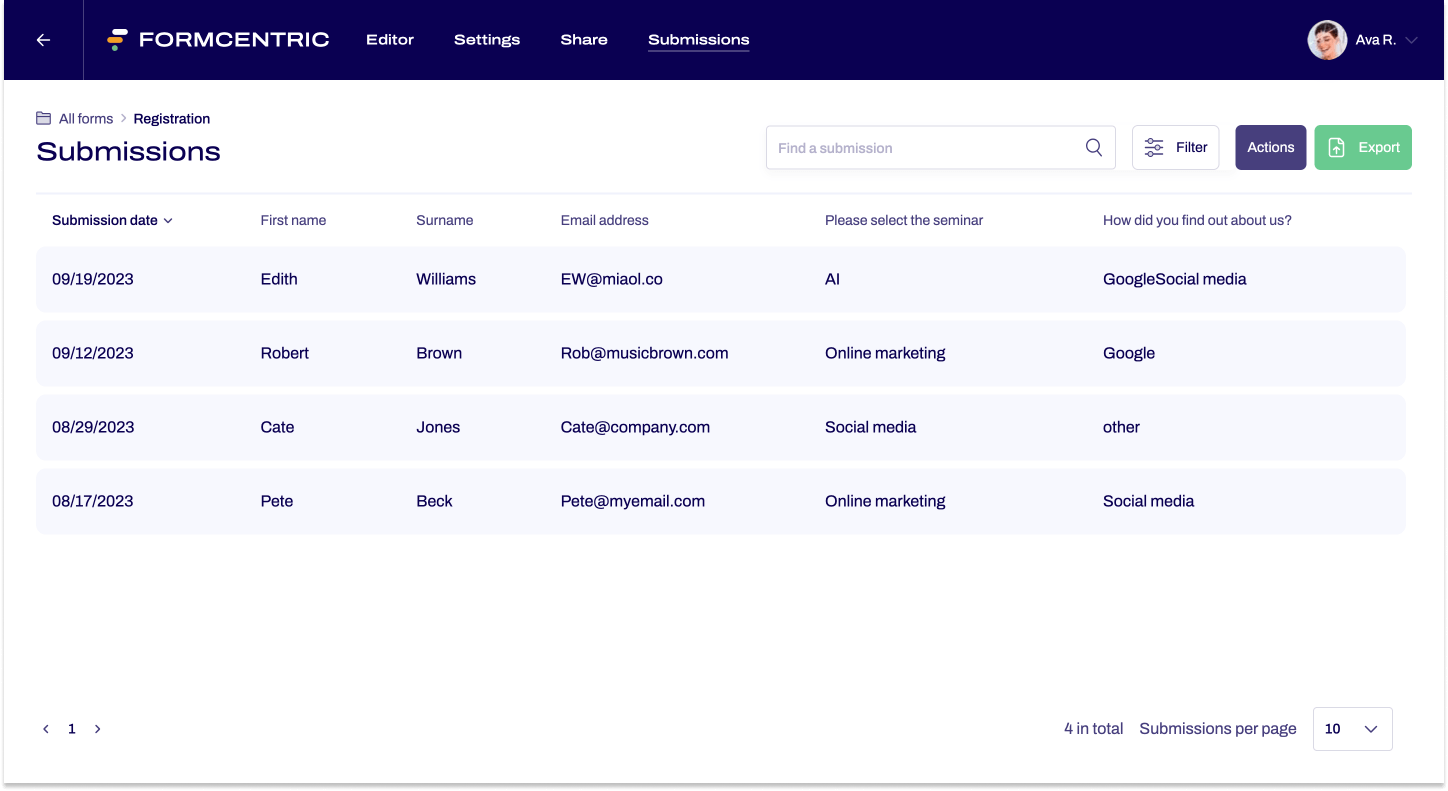
Step 6: Analysing your submissions
When a user completes and submits your form, a new submission appears in Formcentric. All of these submissions, together with all of their data, can be found in the Submissions area. If you have set up email notifications, you will be informed automatically when new submissions are available.