Summary
Last updated:
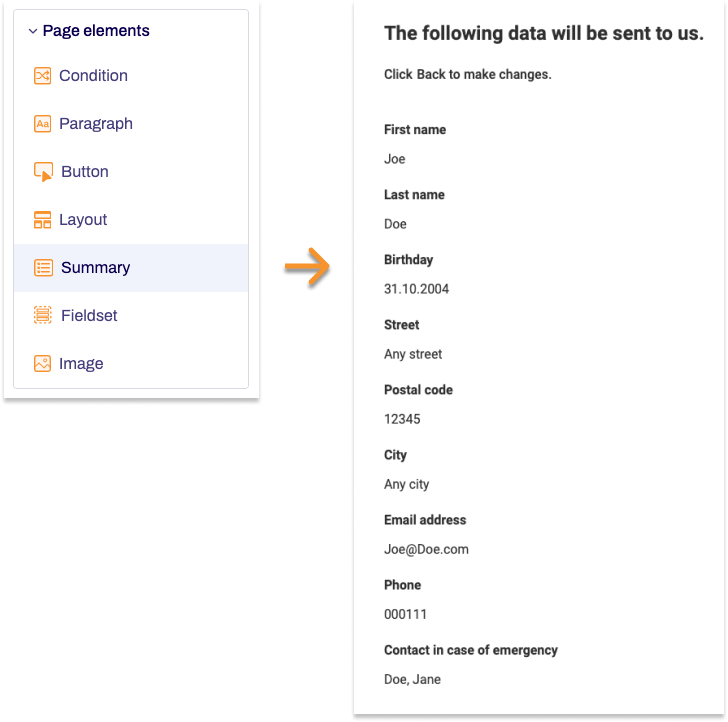
Use the Summary form element – as the last page in your form, for example – and present users with a summary of their entered data before submitting the form.
This allows users to review their inputs.
If they find something that they want to change, they can page back through the form and make these changes. Once everything is correct, they can then submit the form.
Adding Summary
- In the Structure area, click the green plus sign.
- Navigate to General → Page elements and click Summary.
You can now see the form element you’ve just added in the form tree. - On the right, under Edit Summary, you can now adjust the settings for your new form element as required.
Property |
Description |
||||
| Label | Enter the text of the label to be displayed above the summary. | ||||
| Select form elements | Click Select form elements and choose the form elements that you want to have displayed in the summary. In the summary, the form elements will be displayed in the order in which you have listed them here. If you want to use a different order, you can use drag-and-drop to rearrange your form elements.
All form elements listed in the summary are then listed in the editing area. You can use the recycle bin icon on the right-hand side to delete individual form elements. If you do not make a selection, all form elements except password and hidden field elements are displayed automatically. |
||||
| Hide empty fields |
If you check Hide empty fields, then the summary will only show the form fields where users have entered something into the field or selected something from the field. Form fields where users have made no input or made no selection will not be shown. | ||||


