Upload file
Last updated:
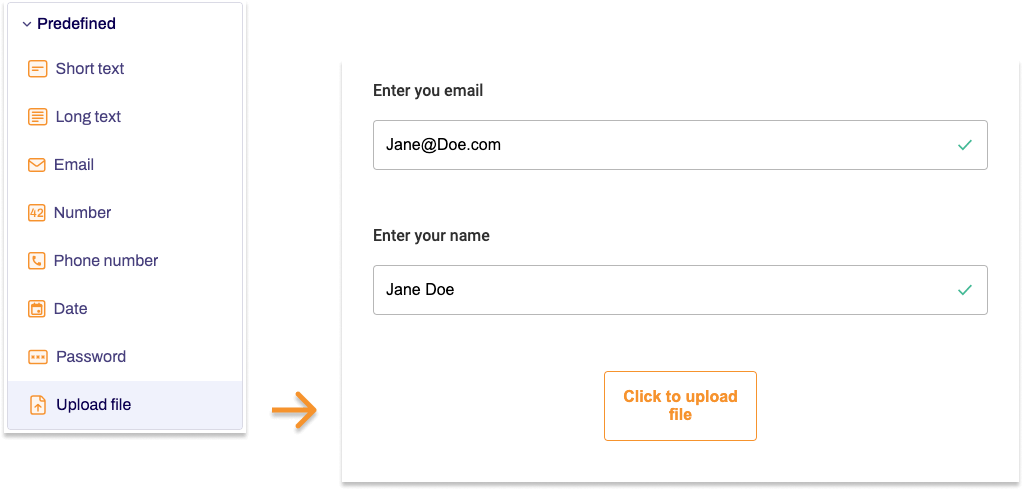
Sometimes, you may need to allow your users to upload files such as documents or photos while filling out a form. You can do this by using the predefined Upload file form element, which adds an upload area to your form that your users can use to upload one or more files. After the form has been submitted, you can analyse these files as part of the form data.
Adding Upload file
- In the Structure area, click the green plus sign.
- Navigate to General →Predefined and click Upload file.
You can now see the form element you’ve just added in the form tree. - On the right, under Edit Upload file, you can now adjust the settings for your new form element as required.
Property |
Description |
||||
| Label | Enter the text of the label to be displayed next to the form field. By default, the label is shown above the form field. | ||||
| Technical name |
Each form element that is added to a form is automatically assigned a unique name – known as the ‘technical name’ – by Formcentric. This name is based on the designator for the form element. Alternatively, you can generate the technical name from the label. To do this, click New from label. Find out more about the technical name. |
||||
| Short hint | Use the short hint to give users extra information or examples shown directly beneath the form field. | ||||
| Note |
Here you have the option of adding some text to your upload area that gives users additional information, such as the maximum file size allowed in megabytes, for example. You can include text formatting here by using markdown commands. | ||||
| Text on upload button | Enter the text to be displayed on the upload button. | ||||
| Display variant | You can use this to add a CSS class from the website that you will be embedding the form into. The CSS class chosen here will be applied to the form element. Alternatively, you can select one or more display variants to apply to the form element. The article Custom display variants explains how to define your own display variants. |
||||
| Required field | Check Required field if at least one file must be uploaded when completing the form. An ‘*’ will then be added to the end of the label for the upload file field, marking it as a required field. Accordingly, users will be unable to submit the form if they have not uploaded a file. | ||||
| Error message | If you check the Required field box, an input field appears. In this field, enter the text shown to users if they try to skip filling out this form field. | ||||
| Multiple files | Check Multiple files if users should be allowed to upload more than one file. | ||||
| Upload files automatically | Check Upload files automatically if files should be uploaded automatically as soon as users have selected them. If this box is not checked, then selected files are uploaded only when users actually click the Upload field. | ||||
| Validation |
You can adjust various settings if required:
|
||||


