Fieldset
Last updated:
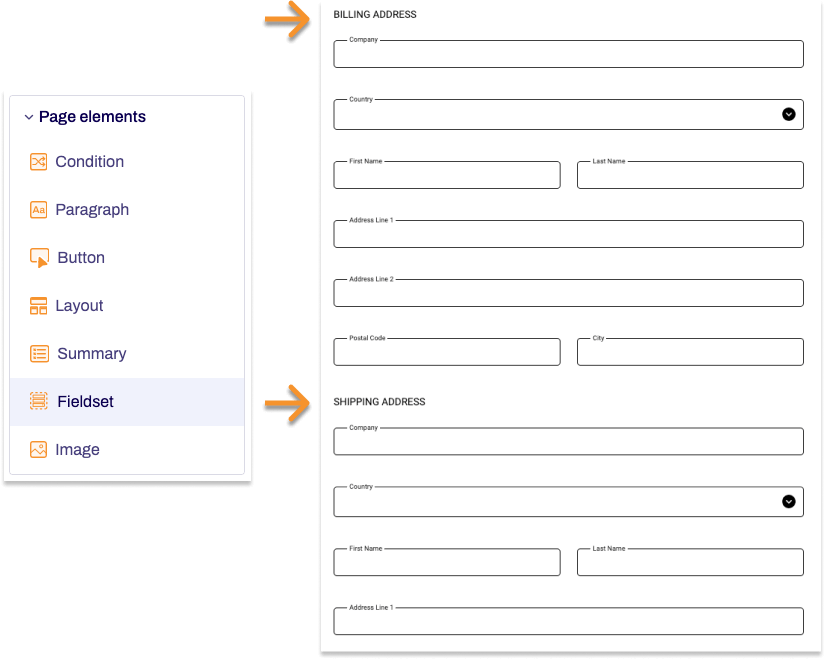
Use the Fieldset form element to split your form up into thematically similar sections. This lets you group multiple form elements in a form into a logical unit – such as personal data, invoice address, delivery address, etc.
Adding Fieldset
- In the Structure area, click the green plus sign.
- Navigate to General → Page elements and click Fieldset.
You can now see the form element you’ve just added in the form tree.
Property |
Description |
||||
| Label | Enter a piece of text that should be displayed as the heading for the fieldset. | ||||
| Technical name |
Each form element that is added to a form is automatically assigned a unique name – known as the ‘technical name’ – by Formcentric. This name is based on the designator for the form element. Alternatively, you can generate the technical name from the label. To do this, click Generate from label. Find out more about the technical name. |
||||
| Display variant | You can use this to add a CSS class from the website that you will be embedding the form into. The CSS class chosen here will be applied to the form element. Alternatively, you can select one or more display variants to apply to the form element. The article Custom display variants explains how to define your own display variants. |
||||
Adding form elements to the fieldset
Once you’ve added a fieldset to the form, you can then add form elements to the fieldset.
- To do this, go to the Structure area, click the green plus sign [+] and then click the form element that you want to add to the fieldset.
In the form tree, you can now see the form element you added to the fieldset. - Define the properties for the form element just added in the editing area on the right.
- Repeat Step 1 and 2 for all form elements that you want to add to the fieldset.
Adding form elements after a fieldset
To add a form element after a fieldset, you need to collapse the fieldset. To do this, click the arrow tip next to the fieldset in the form tree. Once the fieldset is collapsed, you can then use the green add symbol to add more form elements to the form.


